Covers make bonuses feel like real products. Bonus Builder gives you three kinds: designed, AI and your own. Every cover you make is kept, so you can switch between them at any time without losing one.
The cover chooser:
Under each cover on step 3 are three small tiles: Designed, AI and Mine (or Upload). The one in use is highlighted. Click another to switch. The cover changes everywhere at once: the bonus page, the download page, the opt-in pages, the PDF, the download zip and the blog post.
Designed covers:
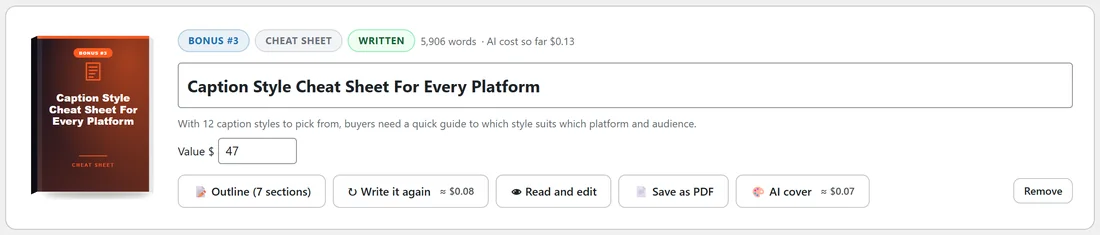
Every bonus has one from the start, at no cost, in six designs: Classic glow, Bold stripe, Clean light, Full colour, Split block and Gold frame. Click Design and colours under a cover to pick a design and its two colours for that bonus, or Use for every bonus. The Covers bar above the bonuses changes the design and colours of every cover at once, and Page colours puts them back to your page's colours.
The shape:
In the Covers bar, Shape sets how covers stand on your pages: a 3D product box (the default, with the title on the side), a 3D book, or a flat cover.
Every bonus has its designed cover from the start, at no cost. It is drawn in the same colours as your bonus page, with the bonus number, a small icon that suits the format, the title and the format underneath. On the bonus page and in step 3 it shows as a 3D book; in the PDF it shows flat.
AI covers:
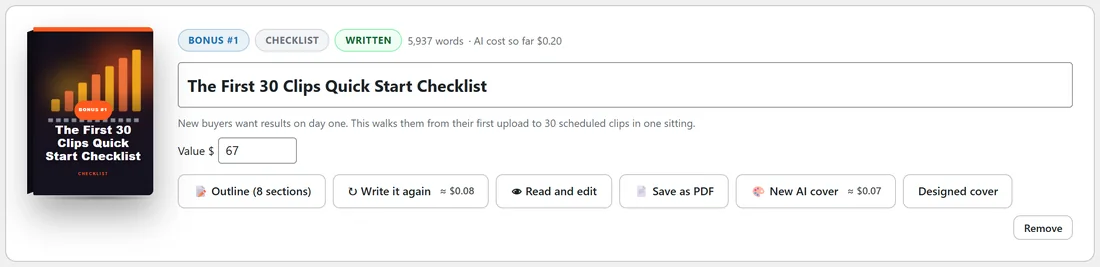
An AI cover is a picture made by your Image AI on the same 3D box or book, with the plugin setting the bonus title, number and format on it, so the title is always spelled right. First a quick, very low-cost text step turns the bonus title into a picture brief: two to four objects that clearly show the topic. When you click AI cover you can add your own instructions (for example: a glowing email envelope with a green check, no people). They are kept for that bonus. AI picture style in the Covers bar chooses 3D objects, flat illustration, photo or abstract.
Making an AI cover for one bonus:
- On step 3, click AI cover on the bonus card. The cost per image is on the button.
- A popup shows the artwork being made. Each image takes 10 to 40 seconds.
- The new cover shows on the card. Click New AI cover any time for a different one.
AI covers for every bonus:
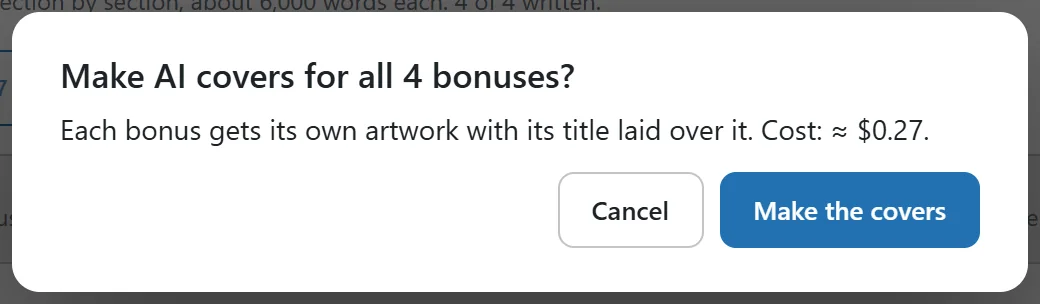
- Click AI covers for all at the top of step 3.
- The box shows the cost for all of them. Click Make the covers.
- The popup makes them one by one.
Back to the designed cover:
Click the Designed tile. Your AI cover is kept: click the AI tile to bring it back. New AI cover under the tiles makes a different one.
Your own cover:
- Click the Upload tile under the cover.
- Choose or upload a picture in the Media Library. A tall picture works best, like 1600 x 2240.
- It shows as it is, with no title laid over it, so a cover you designed yourself looks exactly as you made it.
Click Upload another to change it. You can also click a cover on the page in Edit the page live to choose your own.
Your logo on every cover:
In Your Profile, add your logo under Your logo on your bonus covers. It shows at the bottom of every designed and AI cover. A logo with a see-through background (PNG) looks best. Your own uploaded covers are left as they are.
Which image AI is used:
The Images settings on the AI tab choose it. With a Gemini, OpenAI or xAI key, that provider makes the art; Pollinations is free and needs no key. See AI Images: Covers, A Hero Image And A Featured Image.
A real example:
Sam made AI covers for the first two ClipForge AI bonuses and kept designed covers for the other two. All four sit side by side on the bonus page in the same colours.