The 🎨 Appearance section of ⚙️ Settings changes the colours of the plugin's own screens, so they match the rest of your admin or your other ResultsAiX plugins. It never changes how masked data looks. That is the job of 🎭 Mask Style.
Where to find it:
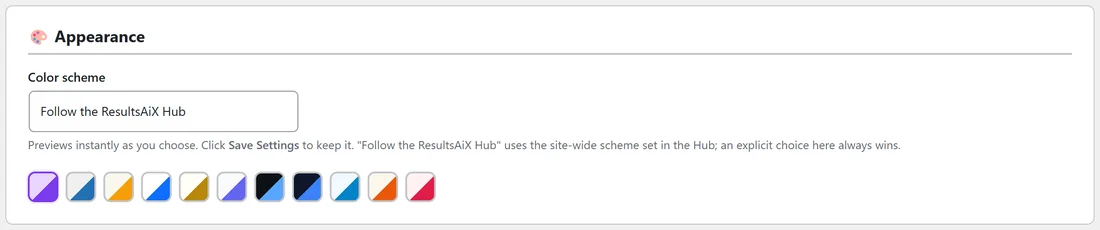
Open 🔒 Record Privacy, click ⚙️ Settings and scroll down to 🎨 Appearance, just above the Save Settings button.
Step by step:
- Pick a scheme from the Color scheme list, or click one of the colour swatches under it.
- The plugin's screens change straight away, so you can see the result before you commit.
- Click Save Settings to keep it. If you leave the page without saving, the old scheme comes back.
Every option:
- Follow the ResultsAiX Hub: the default. The plugin uses the scheme set for the whole site in the ResultsAiX Hub, so every ResultsAiX plugin matches. Without the Hub, this looks the same as WordPress Native.
- WordPress Native: WordPress's own grey and blue.
- Results Amber, Clean White, Ivory Cream, Snow Light, Ocean Blue, Sunset Warm and Rose Pink: light schemes with different accent colours.
- Developer Dark and Midnight Blue: dark panels for people who prefer them.
A choice made here always wins over the Hub's setting, so you can give this one plugin its own look.
A real example:
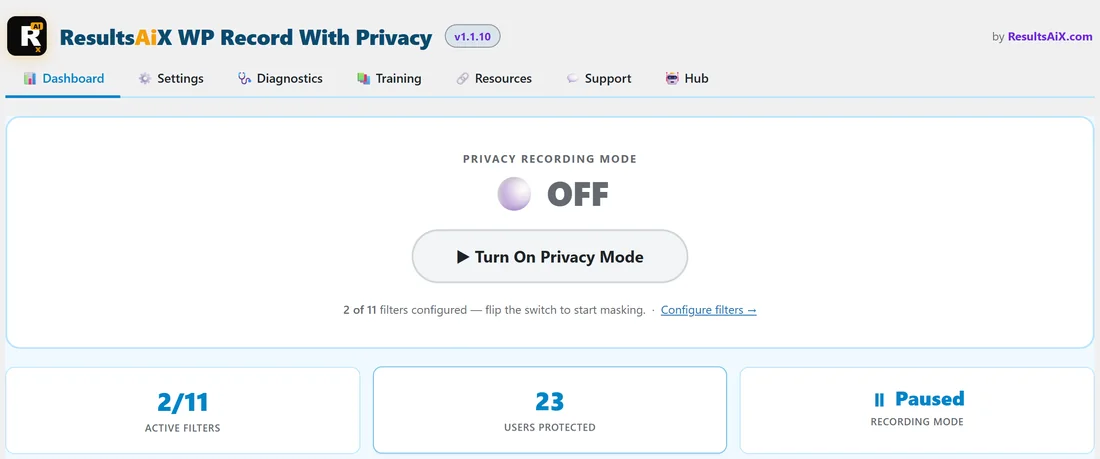
Maya's other ResultsAiX plugins use blue accents, so she picks Ocean Blue. The Dashboard panels, numbers and tabs turn blue, and the purple Privacy Recording ON badge and banner stay purple, because they are part of the masking itself.
Tips:
- If you use several ResultsAiX plugins, leave this on Follow the ResultsAiX Hub and change the scheme once in the Hub.
- The scheme only affects the plugin's own screens. Viewers of your recordings never see it unless you record the plugin's Settings, which you should leave out anyway because it shows your activation email.