Use this checklist for videos, screenshots, live webinars and screen-shares. It takes a couple of minutes and saves you from re-recording.
Before you record:


- List the screens you will show, in order.
- In ⚙️ Settings, switch on the filters those screens need, choose your mask style, and click Save Settings.
- On 📊 Dashboard, click ▶ Turn On Privacy Mode and check for the purple 🔒 Privacy Recording ON badge in the admin bar.
- Do a full test run. Open every screen, every tab, every detail panel, the second page of long lists and any search you plan to show.
- Fix anything that still shows real data: switch on the matching filter, or use Point & Mask to click it once.
- If other people work in this admin, let them know. The switch is site-wide and they will see masked data too.
- Tidy your screen: close other tabs, hide your bookmarks bar, silence desktop notifications, and set your recorder to capture only the browser page if you can.
- Don't start on the plugin's own Settings screen, which shows the email you activated with.
The purple banner and badge appear on every admin screen while masking is on, so they will be in your recording. They are there on purpose, so you never forget the switch is on. Many people leave them in, because they tell viewers the data on screen was hidden on purpose.
While you record:
- Browse and click rather than editing. Form fields only look masked and still save your real values, but real changes are easiest once the switch is off.
- Give each screen a moment after it loads. Content that loads later is masked a fraction of a second after it appears.
- If you need to demonstrate a search, search for something that isn't personal. What you type into a search box is shown as you type it.
- Keep your mouse off links you don't need. Your browser shows a link's address when you hover over it, and link addresses, including email links, are not rewritten.
- Don't start exports or downloads on camera expecting them to be masked. Files always hold real data.
- Screenshots follow the same rules. Take them once the page has settled.
- For a live webinar or screen-share, turn the switch on before you start sharing, not after.
After you record:
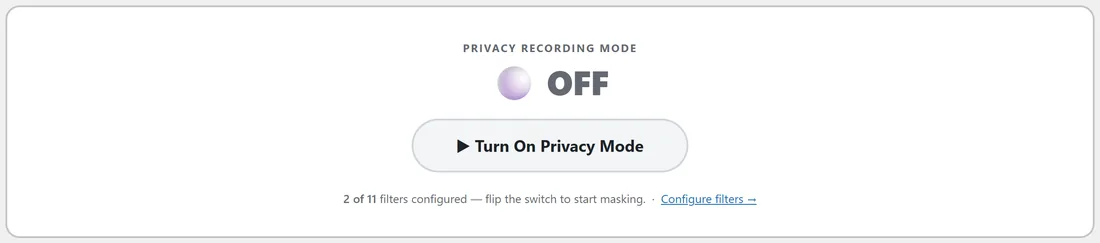
- On 📊 Dashboard, click ⏸ Turn Off Privacy Mode. The banner's Turn off when done link and the admin bar badge both take you there.
- Check that the Dashboard shows ⚪ OFF and the admin bar badge has gone.
- Watch your recording back before you publish it, and deal with anything you missed in your video editor.
- Now make any real changes you need to your site.
A worked example:
Maya runs a live webinar for other café owners, showing how she follows up with customers.
- The day before, she lists her screens: Customers, one customer's details, Comments, and her email plugin's subscriber list.
- She switches on every filter except Visible URLs, picks Fake data so the screens look natural, saves, and turns the switch on.
- During her test run, the Top referrer box still shows a name, so she Point & Masks it.
- She turns it off for the rest of the day, and turns it on again ten minutes before the webinar, so her team works with real data in the meantime.
- After the webinar she turns it off and checks the Dashboard shows ⚪ OFF.