The builder is where every form is made and changed. It has three columns: the palette of field types on the left, your fields as cards in the middle, and the form settings on the right. A live preview sits underneath, and the save bar runs along the bottom.
Where to find it:
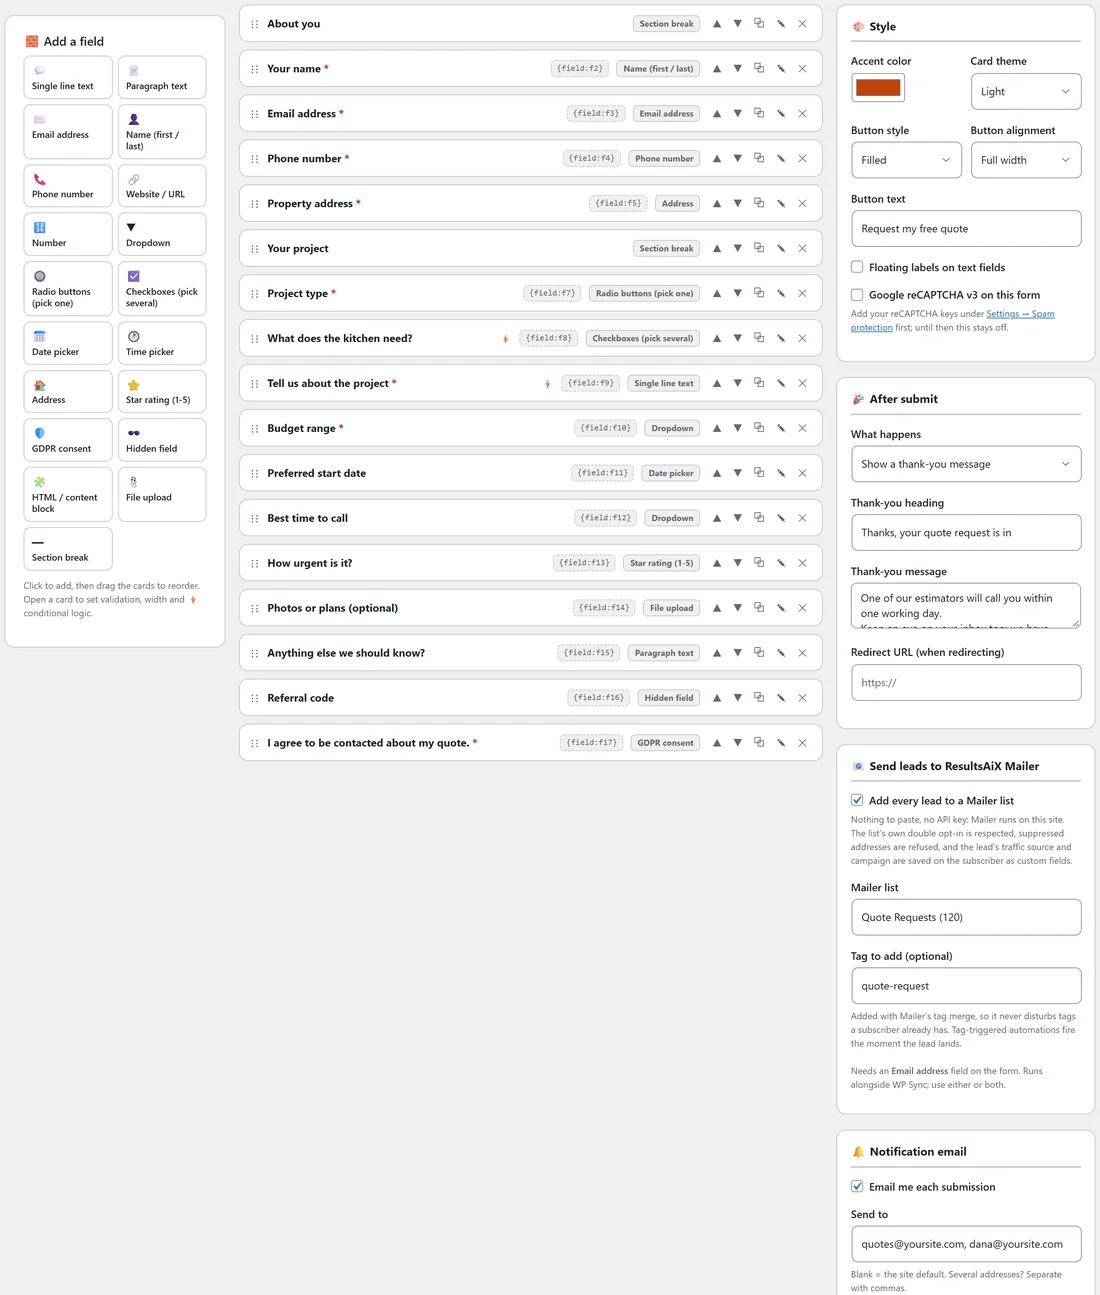
- For a new form, click New Form at the right of the tab row, or AiX Forms then New Form in the sidebar.
- For an existing form, open the Forms tab and click the form's name or its Edit button.
On narrower screens the settings column moves below the cards, and on a phone everything stacks in one column.
The top of the builder:
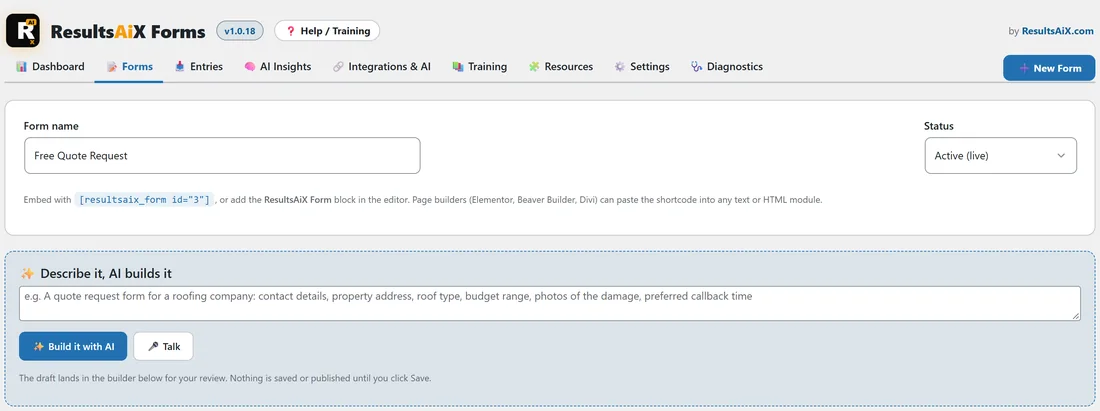
- Form name: for you only, for example Free Quote Request. If you leave it empty the form is saved as "Untitled form".
- Status: "Draft (not shown)", "Active (live)" or "Closed (stops collecting)". Only Active forms appear on your site.
- Once the form is saved, the line underneath shows its shortcode and reminds you about the ResultsAiX Form block.
Adding fields from the palette:
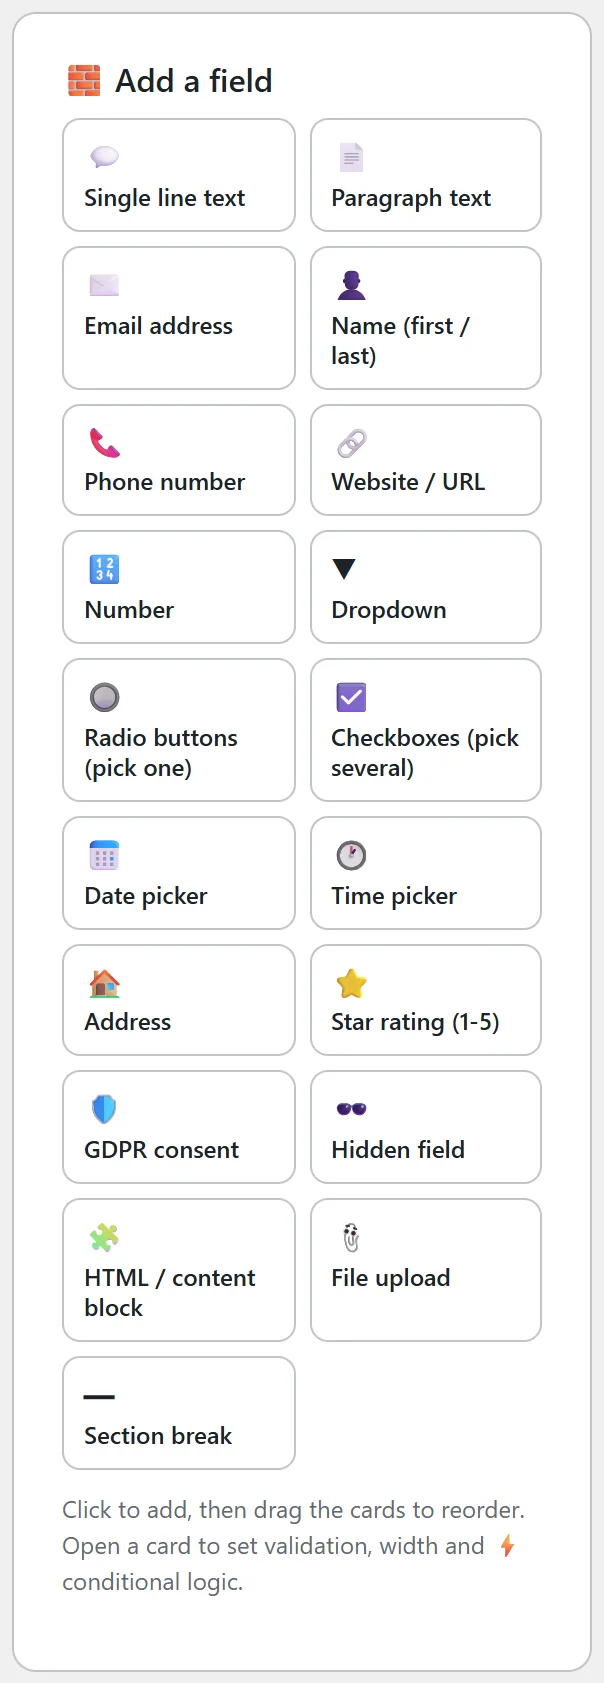
Click any of the 19 types in Add a field and a card for it is added to the end of the form, already open. Choice fields (Dropdown, Radio buttons and Checkboxes) start with Option 1 and Option 2 for you to rename. See All 19 Field Types And When To Use Each.
The field card:
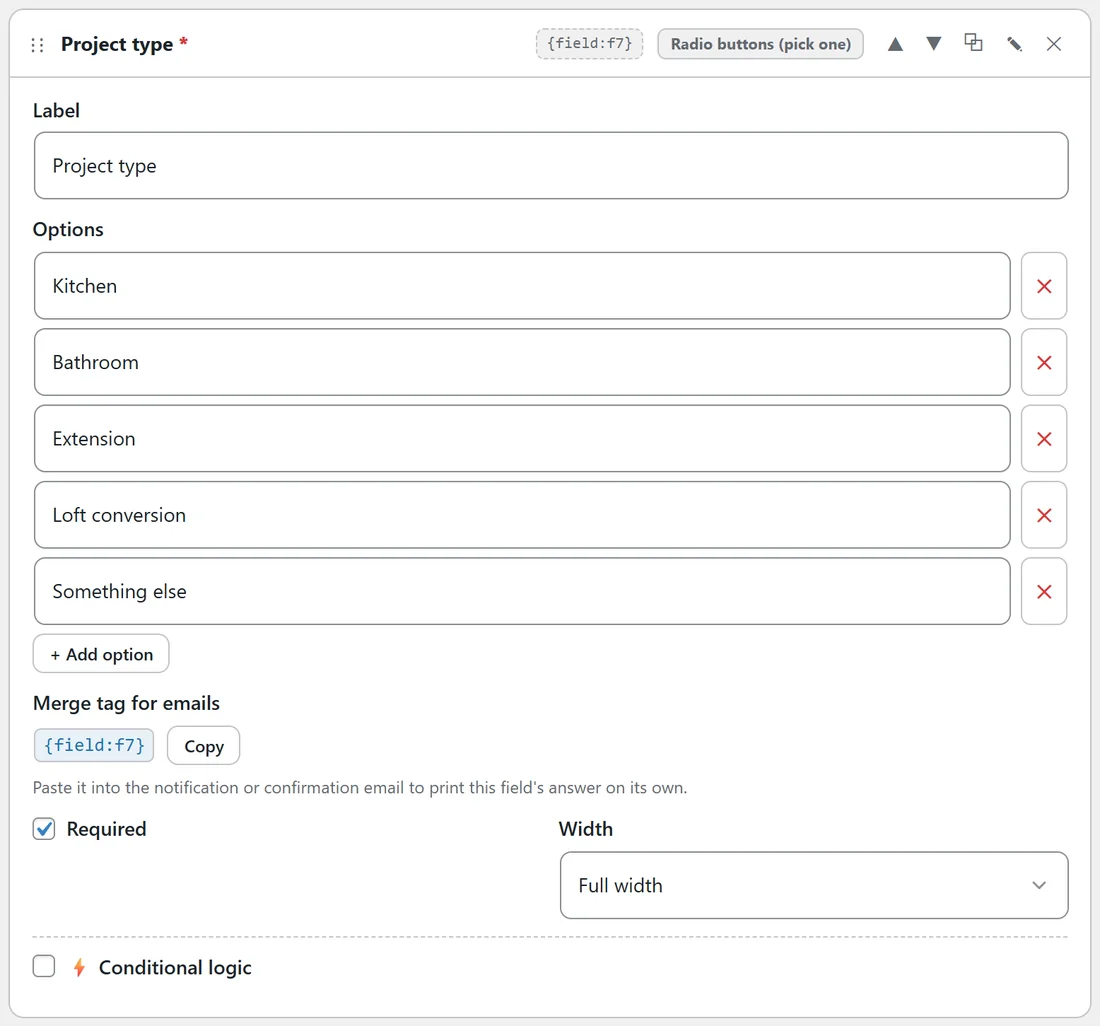
A closed card shows, from left to right: a grip to drag it, its label with a red star if it is required, a lightning bolt if it has conditional logic, its merge tag (for example {field:f7}) and its type. On the right are five buttons: Move up, Move down, Duplicate, Settings and Remove.
Click the header or the Settings pencil to open the card. What you see depends on the field type:
- Label: the question the visitor reads.
- Placeholder: grey example text inside the box, for text, paragraph, email, phone, website, number and dropdown fields. For a dropdown it is the first line, shown before a choice is made (left empty it says "Please choose...").
- Options: one box per choice, with a red cross to remove it and + Add option to add one. A choice field needs at least two options.
- Description, Small print or HTML content: for a section break, a GDPR consent box and an HTML block.
- Value: for a hidden field.
- Min and Max: for a number field.
- Min length, Max length and Pattern: for single line and paragraph text.
- Merge tag for emails: the field's own tag with a Copy button.
- Required and Width: whether an answer is needed, and Full width or Half width.
- Conditional logic: show or hide this field based on other answers.
Validation, step by step:
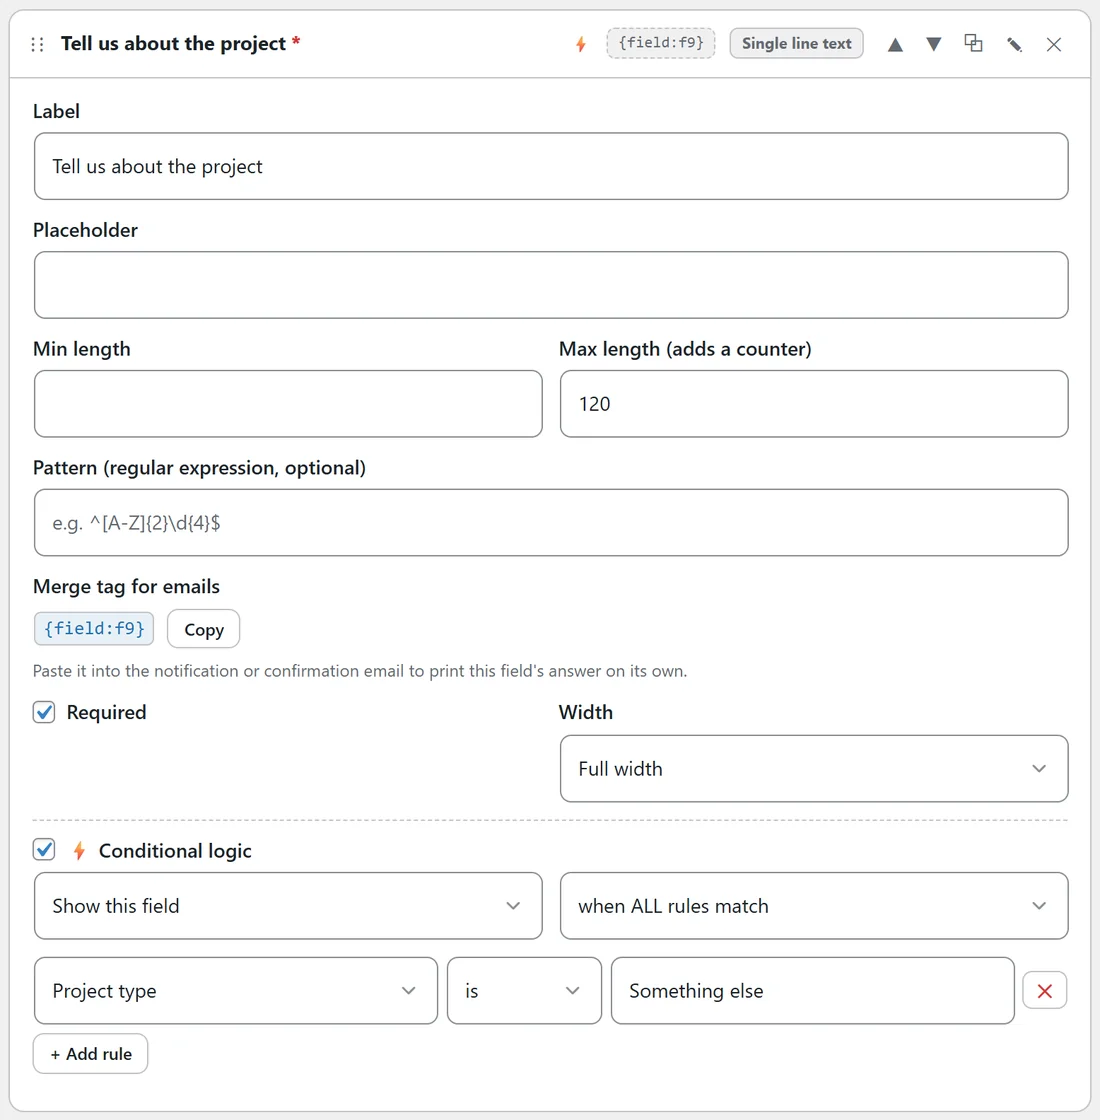
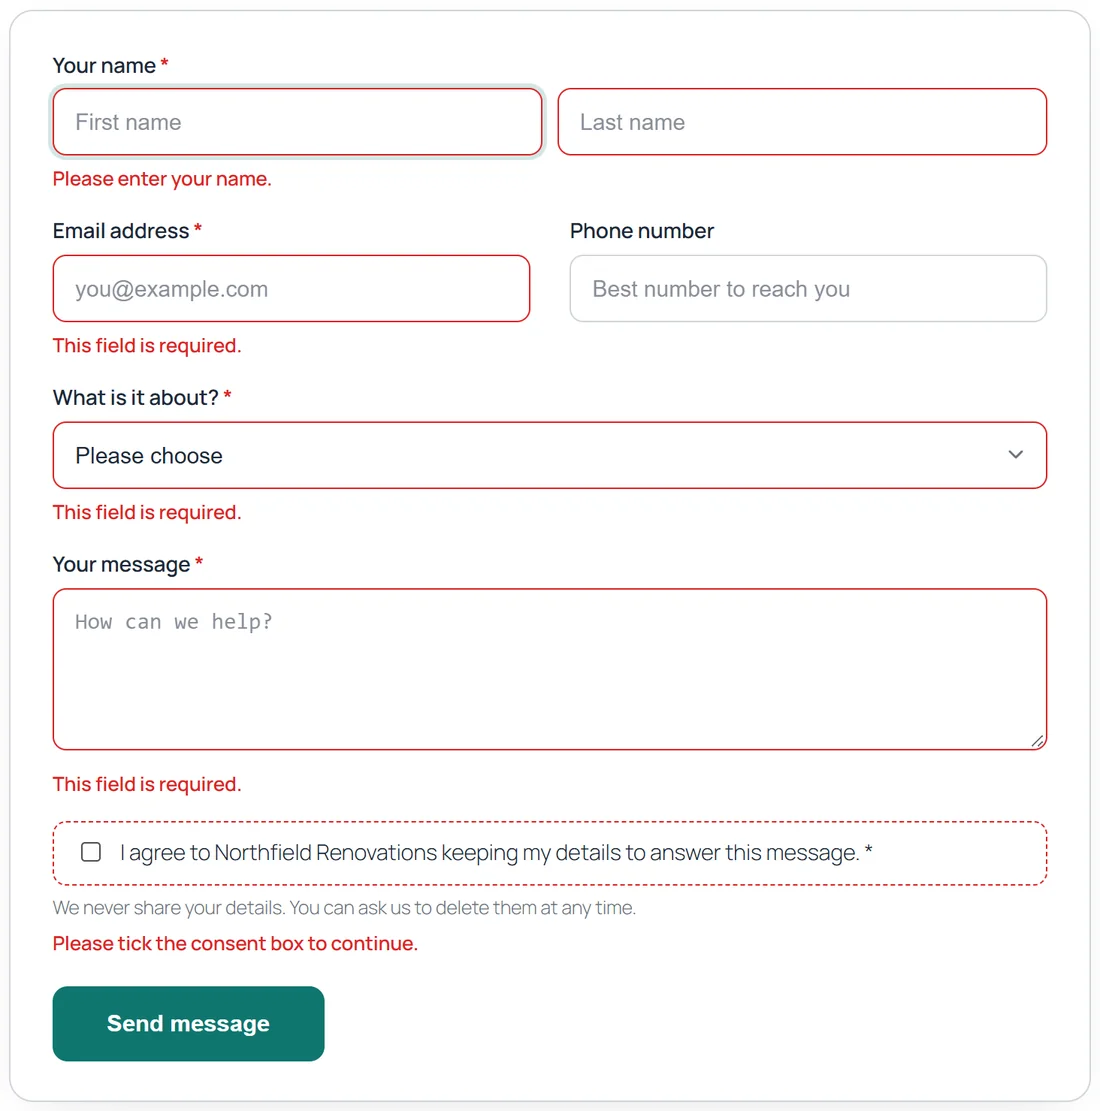
Here is how to set up a reference number field that must look like NR1234.
- Add a Single line text field and open its card.
- Set Min length to 6 and Max length to 6. A max length adds a live character counter under the box.
- In Pattern (regular expression, optional), type ^NR\d{4}$.
- Tick Required.
The visitor's browser checks the pattern as they type, and your site checks it again when the form arrives. A value that does not fit shows "That does not look like the expected format."
The other checks happen on their own: an Email address must look like an email, a Website / URL must be a web address, a Number must be a number between your Min and Max, a choice must be one of your options and a star rating must be 1 to 5.
Half width fields:
Set two neighbouring fields to Half width and they sit side by side, for example email next to phone, or budget next to start date. On a phone they stack again.
Reordering, duplicating and removing:
- Drag a card by its header, or use the up and down arrows.
- Duplicate copies a field with all its settings, including its options and logic. The copy gets its own id when you save.
- Remove deletes the field. Any conditional logic rule that pointed at it is removed too, and a note above the cards says how many.
Merge tags:
Every field that stores an answer gets a merge tag once the form has been saved, for example {field:f10} for Budget range. Click Copy and paste it into the subject or message of your emails. See Email Notifications, Confirmation Emails And Merge Tags.
The live preview:
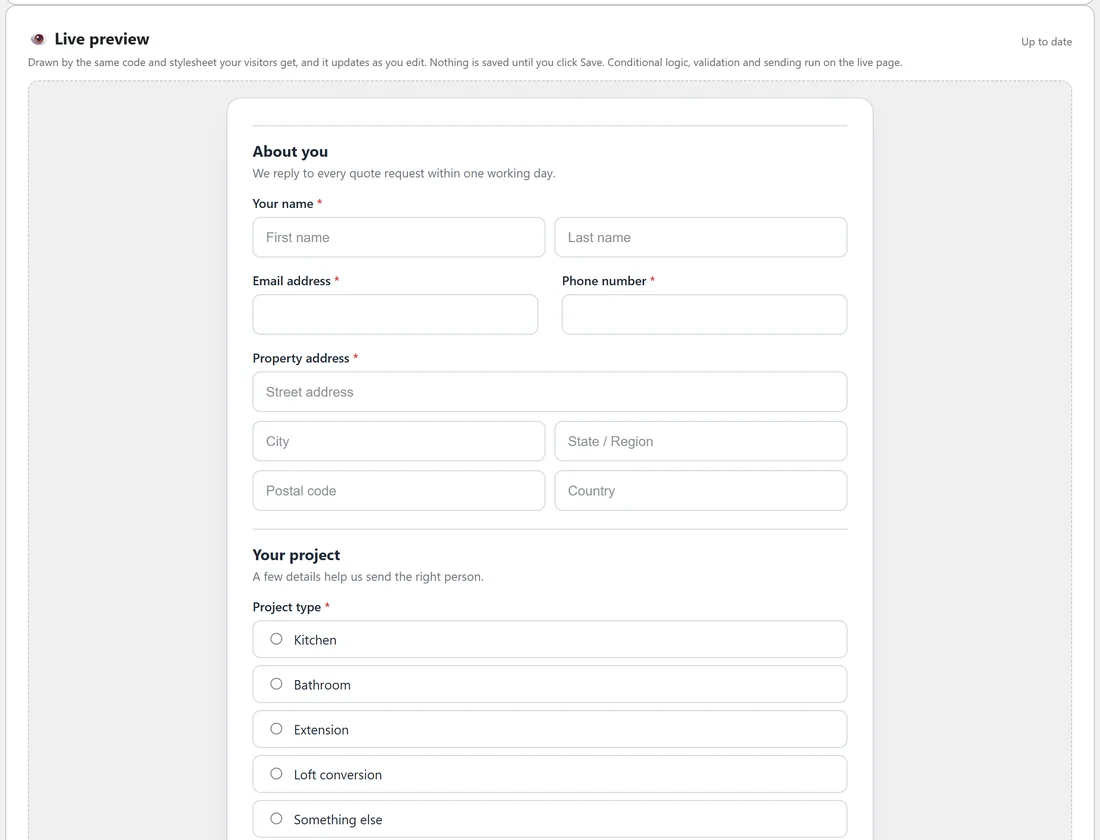
Live preview draws your unsaved form with the same code and stylesheet your visitors get. It updates a moment after you stop typing, and the label on the right says Up to date when it has caught up. The preview shows every field; conditional logic, validation and sending run on the live page.
Saving:

Fields, style and emails all save together with the Save form button in the save bar. Back to forms returns to the Forms tab. If you try to leave with unsaved changes, the builder asks first, with Leave without saving and Stay here.
A real example:
The Northfield Renovations quote form has 17 fields in two parts, each opened by a section break: About you (name, email and phone side by side, property address) and Your project (project type, a kitchen question that only shows for kitchens, budget and start date side by side, best time to call, an urgency rating, photos, notes, a hidden referral code and consent).
Planning a form before you build it:
- Write down what you need to know to act on the lead, and nothing more. For a quote: who, how to reach them, where the job is, what kind of job, rough budget.
- Decide which questions everyone answers, and which only some people answer. The second group gets conditional logic.
- Group the questions into two or three parts and give each a Section break.
- Pair short fields with Half width.
- Decide what the visitor sees afterwards, and what you want in your inbox.
Choosing the right field for a question:
- Will you sort or count the answers? Use a Dropdown, Radio buttons or Checkboxes, so the answers line up in the Answer breakdown.
- Is the answer a sentence? Use Paragraph text with a sensible Max length.
- Do you need a specific format, such as a booking reference? Use Single line text with a Pattern.
- Do you need to know where the visitor came from inside your own business, such as a referral code on a flyer? Use a Hidden field with ?ref and print links with ?ref=FLYER.
How field ids work:
Each field gets an id such as f1, f2 and f3 the first time the form is saved. The id never changes, even when you move or rename the field, so your merge tags, conditional logic and CSV columns stay correct. A duplicated field gets a new id on the next save.
Editing a form that already has entries:
You can change labels, options and order at any time. Old entries keep their answers: they are stored by field id, and the full entry shows them under the current labels. If you remove a field, its answers in old entries are still shown, marked "(no longer on the form)".
Tips:
- Save once after adding new fields, then add conditional logic. Saving gives each new field its permanent id.
- A form that already has fields can never be saved empty by accident; such a save keeps the fields.
- Use Duplicate on the Forms tab to start a new form from an existing one.