Getting Free HTML Pages running takes a few minutes: sign up free, download the zip, install it in WordPress, then activate it once with your name and email. This article walks through each step and shows every screen you meet on the way.
Sign up once, get all the free plugins:
Free HTML Pages is one of the free ResultsAiX plugins, and a single free sign-up gets you all of them.
- Go to https://resultsaix.com/free-plugins/
- Enter your name and email address.
- Open the confirmation email and click the link to confirm it is really you.
- Your free members area opens at https://resultswithkevin.com/members/free-plugins/ with the download and guides for every free plugin.
New free plugins are added to the same members area when they are released. You can also download Free HTML Pages from its own page at https://resultsaix.com/free-html-pages/
Download the plugin:
In the members area, download the Free HTML Pages zip file. Keep it as a zip. WordPress installs the zip exactly as it is, so there is nothing to unpack.
Do I need a licence key?
No. There is no key to buy, find or type. When you activate, you enter your name and email once and the plugin sets up its own free licence for your site. It is free forever, on unlimited sites, and every feature in these docs is included.
Install the zip:
- In your WordPress admin, go to Plugins, then Add New.
- Click Upload Plugin at the top of the screen.
- Click Choose File, pick the Free HTML Pages zip you downloaded, and click Install Now.
- When WordPress says the plugin was installed, click Activate Plugin.
While it installs, the plugin also creates a storage folder for your pages at wp-content/fhp-pages/ and blocks direct web access to it, so your pages are only ever served through their own addresses.
Switch it on with your name and email:
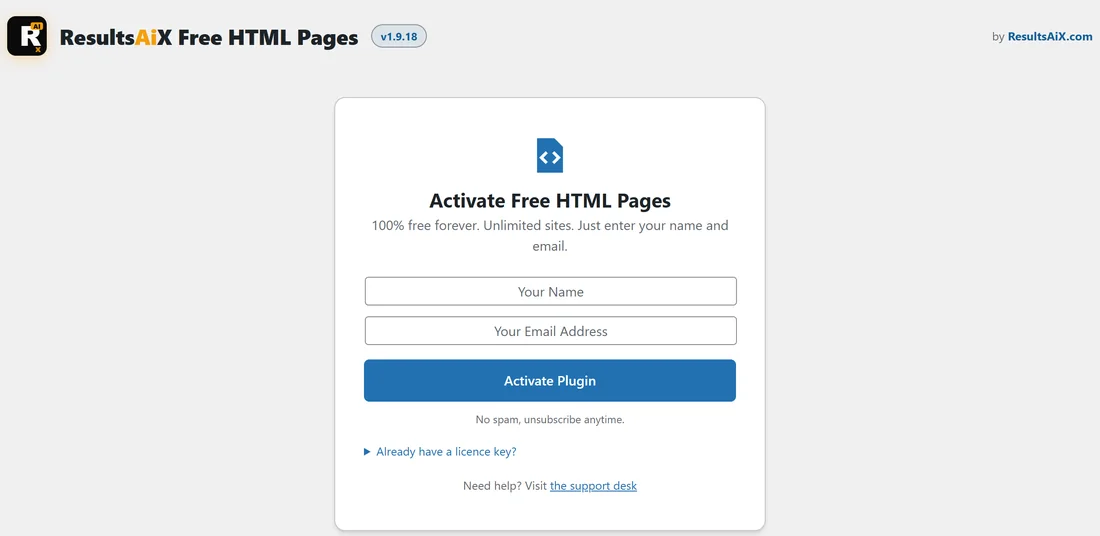
After you activate the plugin, a new item called Free HTML Pages appears in your admin sidebar.
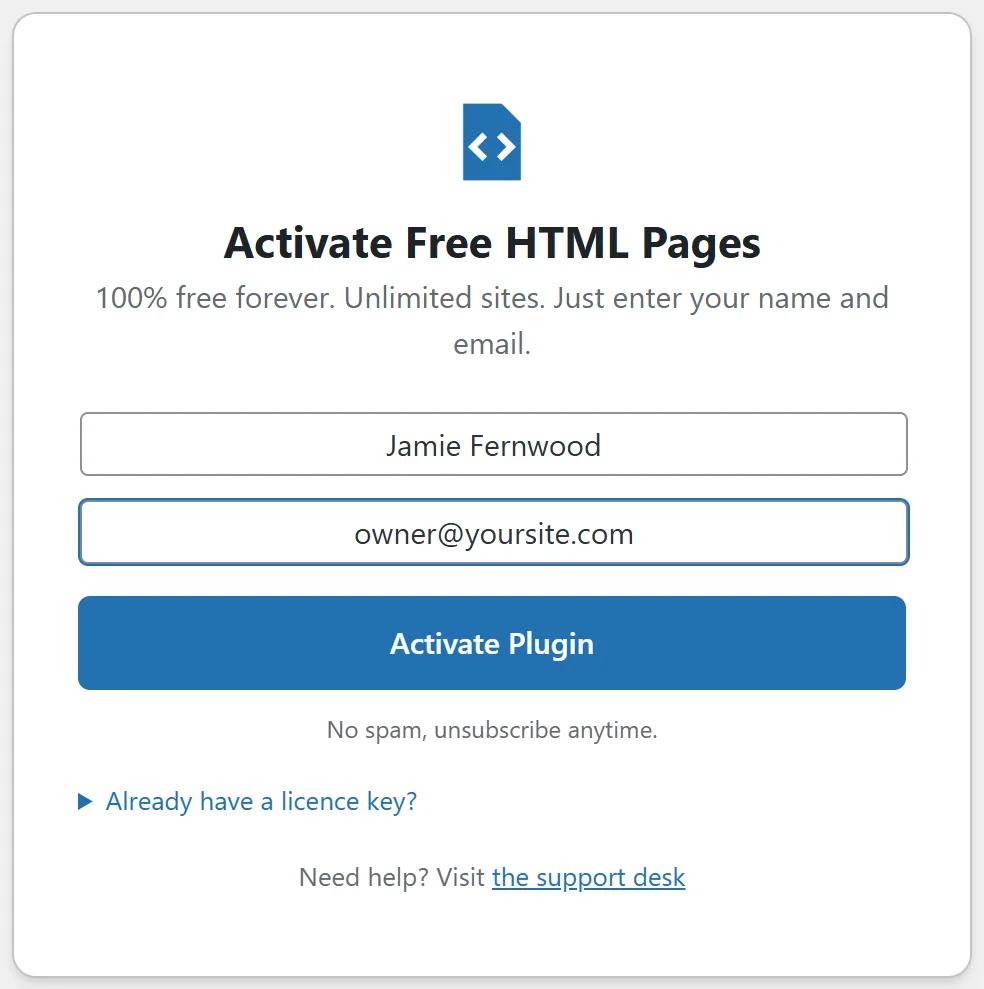
- Click Free HTML Pages. You see the Activate Free HTML Pages screen.
- Type your name in the Your Name box.
- Type your email in the Your Email Address box.
- Click Activate Plugin. The button shows Activating... while it works.
- You see Plugin activated! Reloading... and the plugin Dashboard opens.
Pressing Enter in the name box moves you to the email box, and Enter in the email box clicks Activate Plugin for you.
What you see next:
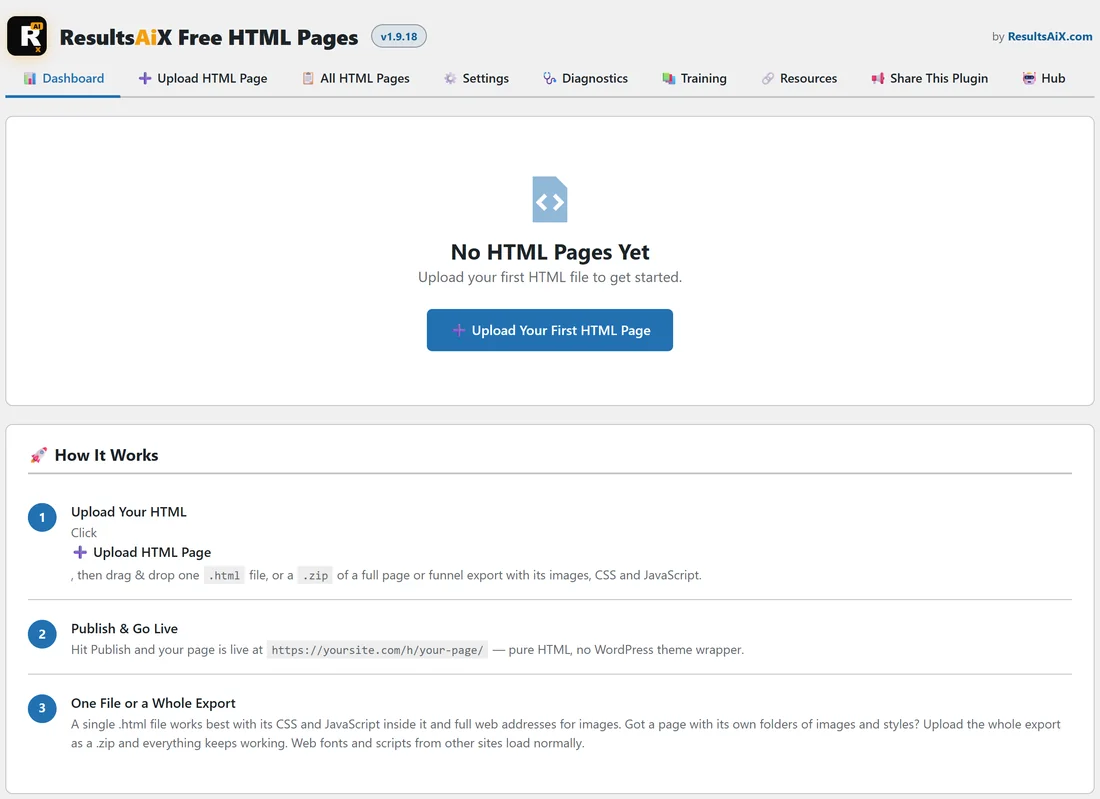
The sidebar item is now called HTML Pages, and every screen of the plugin is ready to use. With no pages yet, the Dashboard says No HTML Pages Yet and gives you an Upload Your First HTML Page button, plus a short How It Works list.
Already have a licence key?
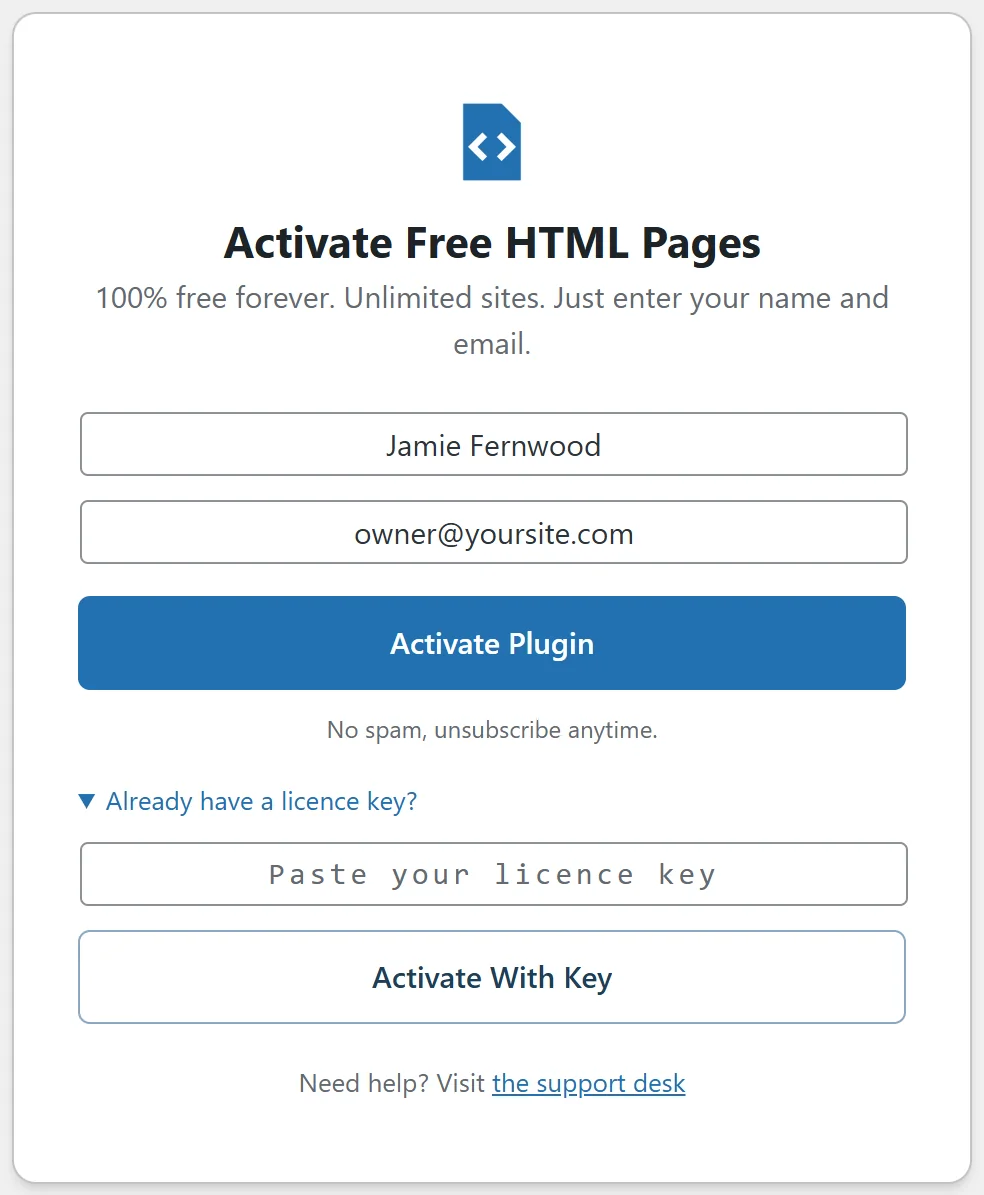
Under the name and email boxes, click Already have a licence key? to open a key box. Paste your key into the Paste your licence key box and click Activate With Key. Most people never need this, because the name and email steps above set up your free licence for you. It is handy when support has sent you a key, or when you want this site on the same key as your other sites.
Check your licence:

Open HTML Pages, then Settings. The License panel at the top shows Status (Active), your free Key and the Email you activated with. You can read the key here whenever you need it.
What happens when you activate:
- A free licence for this site is set up under your email address.
- Your name and email are added to the ResultsAiX mailing list for plugin news. The form promises no spam, and you can unsubscribe at any time.
- The plugin checks in with the ResultsAiX licence server quietly once a day in the background. Your pages keep working while it does.
Messages you might see:
- Please enter your name. The name box was empty. Type your name and click again.
- Please enter a valid email address. Check the email for typos.
- Connection error. Please try again. Your browser could not reach your own WordPress site to finish the step. Reload the page and click Activate Plugin again. If it keeps happening, ask your host whether a security plugin or firewall is blocking WordPress admin requests.
- We could not confirm your free licence with the licence server just now. Wait a minute and click Activate Plugin again. If you see it again, contact support with your Diagnostics report.
Who can do this:
Activation, Settings and Diagnostics are for WordPress administrators. Uploading, replacing and duplicating pages is for accounts with the WordPress unfiltered HTML permission, which means Administrators and Editors (and Super Admins on a multisite network).
More than one site:
Install and activate the plugin on each site. Use the same name and email every time, so all your sites sit under one free licence.
Switching the plugin off and on:
Deactivating the plugin on the Plugins screen keeps your licence, your pages, their files and your settings. When you activate it again it carries on where it left off, with no need to enter your name and email again. Only the Deactivate License button on the Settings tab removes the licence from the site. See Deleting Pages, Deactivating And Uninstalling for what each action does.
A real example:
Jamie runs Fernwood Fitness at yoursite.com. Jamie downloads the zip from the free members area, installs it under Plugins, Add New, Upload Plugin, then opens Free HTML Pages and types Jamie Fernwood and owner@yoursite.com. One click on Activate Plugin and the Dashboard opens, ready for the first page.
Next step: Getting Started Guide.