These recipes all use the same upload you learned in the Getting Started Guide. What changes is how you prepare the file and how the pages link together. Each one ends with a page you can share straight away.
A PLR page:
- Unzip the PLR pack on your computer.
- Find the page you want, often named index.html.
- Open it in a plain text editor. Change the name, links and buttons to your own, such as your checkout or affiliate links.
- If the page uses its own images and CSS folders, zip the page folder again and upload the ZIP. That is the quickest route, with no path changes.
- If you prefer a single file, fix the images and linked CSS as shown in Preparing Your HTML: Images, CSS And Assets.
- In WordPress, click HTML Pages, Upload HTML Page, add a title, drop in the file or ZIP and click Publish.
A page made with an AI tool:
- Ask your AI tool for a single, self-contained HTML file with all CSS and JavaScript inline and every image as a full https:// address. A prompt that works well: "Write one complete HTML file with the CSS in a style tag, no outside files, and a meta charset of utf-8."
- Copy the code into a plain text editor, not a word processor, and save it with a name ending in .html.
- Check the file name really ends in .html and not .html.txt.
- Open the file in your browser to check it, then upload it as a new HTML Page and publish.
An opt-in page and its thank-you page:
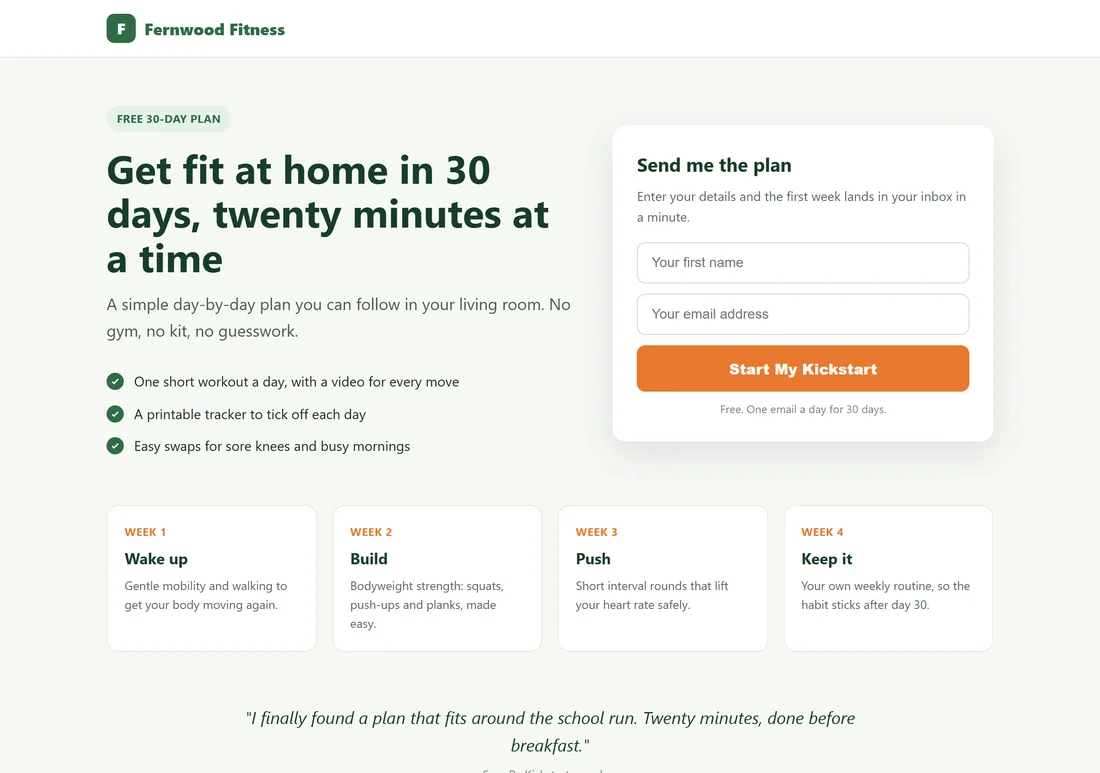
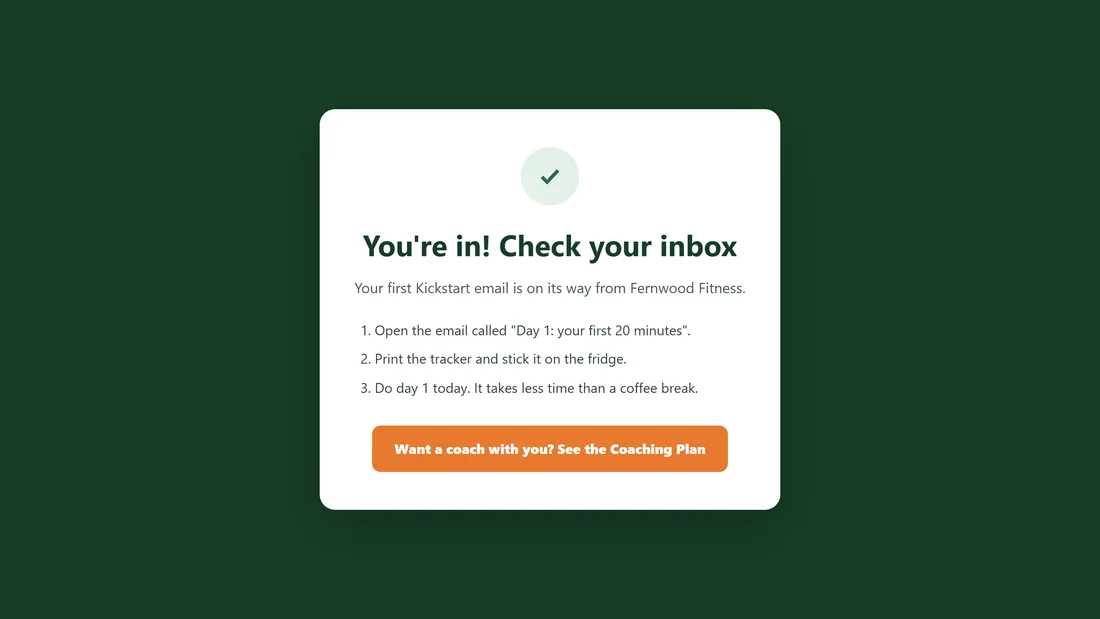
This is the Fernwood Fitness 30-Day Kickstart.
- Build the opt-in page with your email service's form code inside it.
- In your email service, set the thank-you address to your thank-you page, for example https://yoursite.com/h/kickstart-thank-you/
- Upload the opt-in page as 30-Day Kickstart and the thank-you page as Kickstart Thank You. Publish both.
- Put a conversion snippet in the thank-you page's own Page Code Injection, Body Code box, so a sign-up is counted once per thank-you visit.
- Test it: sign up with your own email and check you land on the thank-you page.
A bonus page:
- Prepare the bonus page as a single HTML file, with download links pointing at full addresses. Upload the bonus files to your Media Library and copy their addresses.
- Upload and publish it.
- Paste its Copy Link address into your promo emails and review pages.
- Want to track who visits? Paste your tracking pixel into that page's Page Code Injection box.
A multi-step funnel:
A funnel is several pages that link to each other, for example opt-in, thank-you and offer.
Option one, one page per step:
- Decide the titles first, for example Free Guide, Thank You and Special Offer. With the default prefix they live at /h/free-guide/, /h/thank-you/ and /h/special-offer/.
- In each file, point the buttons and links to the next step's full address, for example https://yoursite.com/h/special-offer/
- Upload each step as its own HTML Page and publish them all.
Option two, the whole funnel as one ZIP:
If you exported the whole funnel from a page or funnel builder, upload the ZIP to one HTML Page. Every page in the ZIP goes live under that page's address, for example /h/spring-challenge/thank-you.html, and the links between the pages keep working. Fernwood Fitness did this for its Spring Challenge Funnel. Either way, click through the whole funnel yourself before you send traffic.
A sales page or order page:
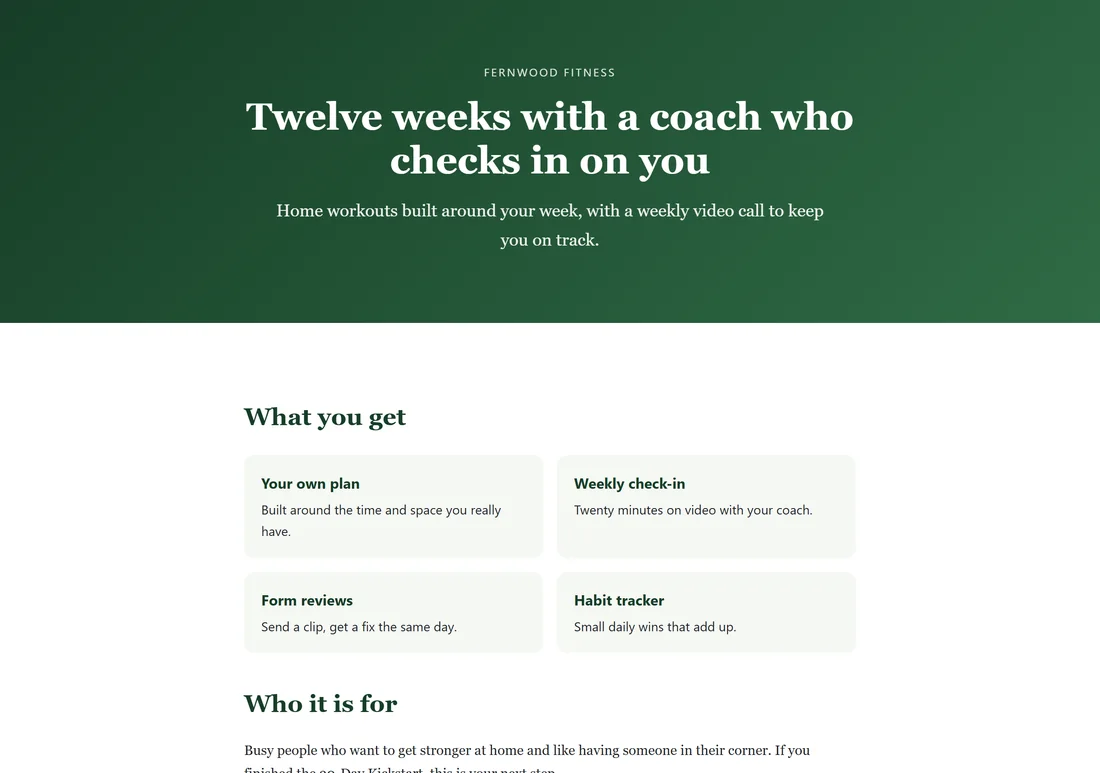
Upload it like any other page. Payment buttons and checkout links from your payment provider work as normal links or scripts inside the HTML. The Fernwood Fitness Coaching Plan page sends its Join The Coaching Plan button straight to the checkout. Add conversion tracking to the page buyers see after paying, with Page Code Injection.
A page for a client:
Install and activate the plugin on the client's site, upload the finished page and send them the Copy Link address. The client's theme cannot change your design. To let the client review it first, keep the page Private or as a draft and show it to them while they are signed in.
A thank-you page after a purchase:
- Build a simple page that confirms the order and tells buyers what happens next, such as where their login or download arrives.
- Upload it as its own HTML Page, for example Coaching Welcome at /h/coaching-welcome/.
- In your payment provider, set this address as the page buyers see after paying.
- Add your purchase conversion snippet to its Page Code Injection, Body Code box.
- Add meta name="robots" content="noindex" to its Head Code, so it stays out of search results.
Testing two versions:
Use Duplicate to make a second version of a page with its own address, then send different traffic to each. The plugin does not split traffic for you, so share each address where you want it and compare results in your analytics.
A webinar or event sign-up page:
- Paste the registration form code from your webinar or email service into the page.
- Set the service's confirmation address to a thank-you page you upload as its own HTML Page.
- Schedule the page to go live when registration opens, using the Publish box.
- After the event, set it back to Draft, or replace the file with a replay page at the same address.
A coming soon page:
Upload a simple single-file page with your launch date and a sign-up form, publish it at a short address such as /h/launch/, and share that link. On launch day, replace the file with the full sales page. The address and every link you shared stay the same.
A link-in-bio page:
Build one page with a button for each of your main links, upload it as Links, and put yoursite.com/h/links/ in your social profiles. Change the buttons any time by uploading a new file.
Check it on a phone:
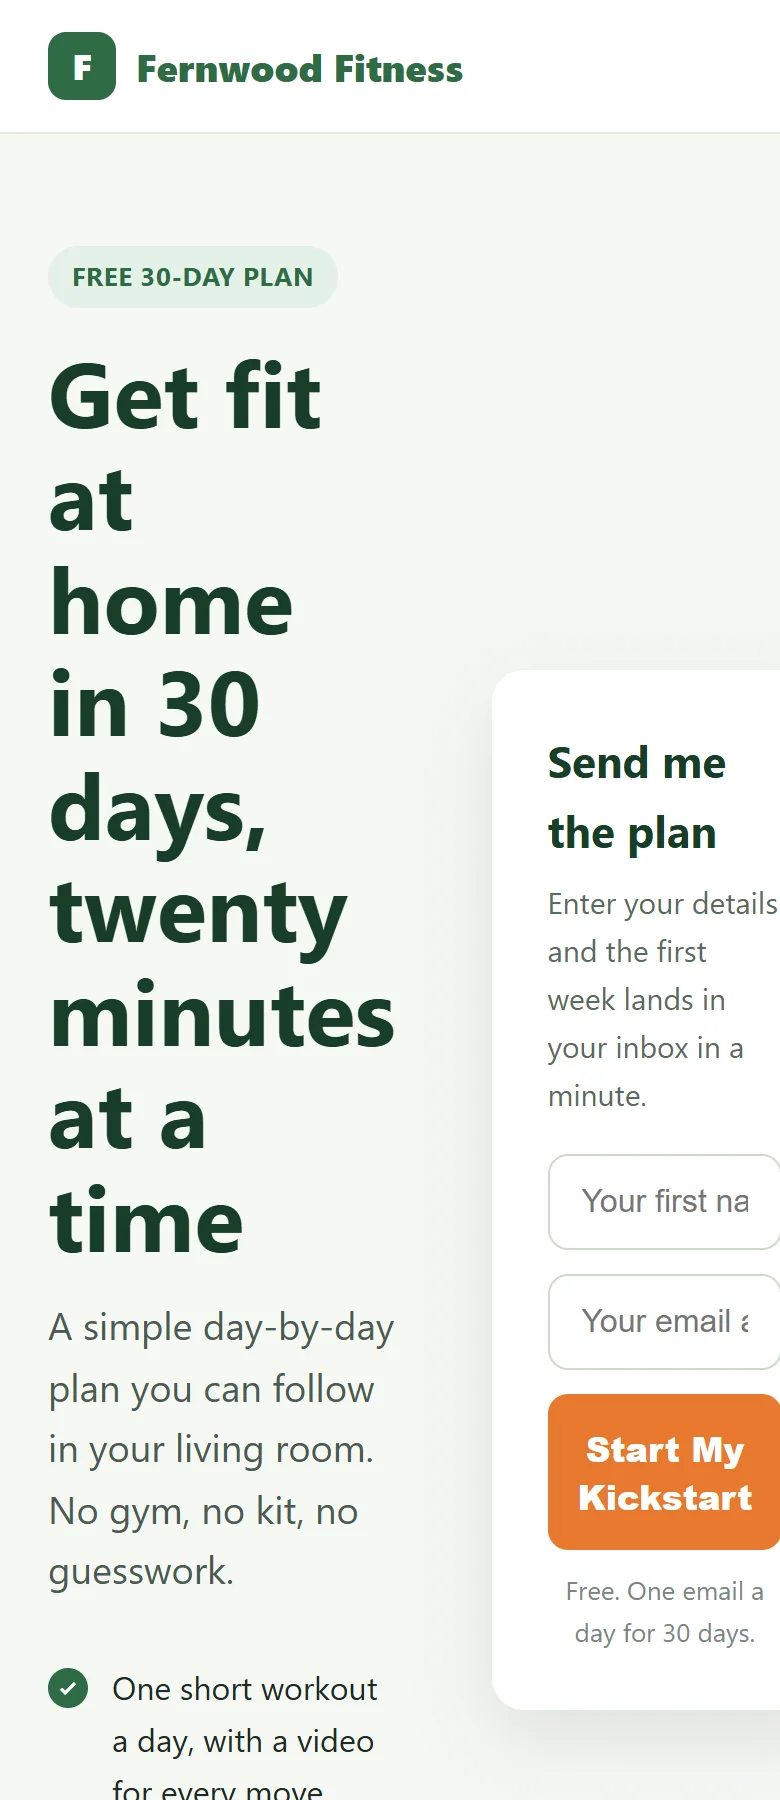
Open the live page on your phone before you share it. A page that includes meta name="viewport" content="width=device-width, initial-scale=1" in its head lays itself out for small screens, as the Kickstart page does here.
See all your pages together:
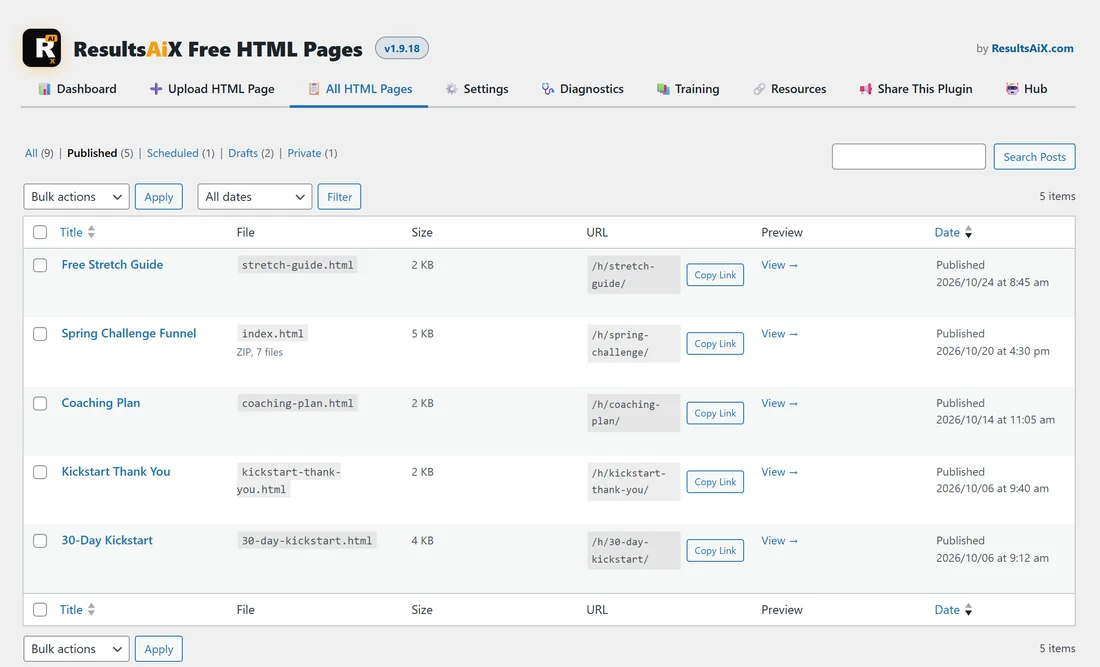
Click Published in All HTML Pages to see every live page, its file and its address, with Copy Link next to each one.