The Settings tab holds the few choices that apply to every HTML page on your site. Open HTML Pages, then Settings. The screen has seven panels. The middle ones are saved together with one Save Settings button near the bottom.
License:

Shows the free licence for this site:
- Status: Active or Inactive
- Key: your free licence key
- Email: the email you activated with
The Deactivate License button removes the licence from this site. The plugin asks Deactivate your licence on this site? Your HTML pages go offline until you activate the plugin again. Your pages and their files are kept. Click OK to go ahead or Cancel to keep things as they are. You only need this button if you are closing the site or handing it over. To use the plugin again afterwards, open Free HTML Pages and enter your name and email as you did the first time.
Appearance:
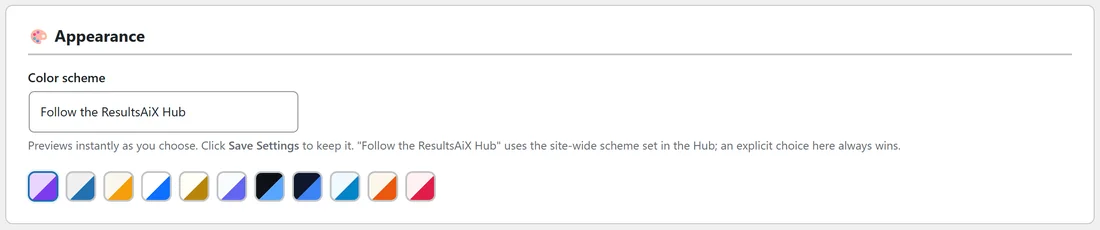
Color scheme changes the look of the plugin's own admin screens. It never changes your published pages. Choose from:
- Follow the ResultsAiX Hub (the default)
- WordPress Native
- Results Amber
- Clean White
- Ivory Cream
- Snow Light
- Developer Dark
- Midnight Blue
- Ocean Blue
- Sunset Warm
- Rose Pink
You can also click the colour swatches under the menu. The screen previews your choice straight away, so you can try a few. Click Save Settings to keep it. Follow the ResultsAiX Hub uses the site-wide scheme set in the ResultsAiX Hub. A choice made here always wins over the Hub. If the Hub has never set a scheme, WordPress Native is used.
Previewing a scheme:
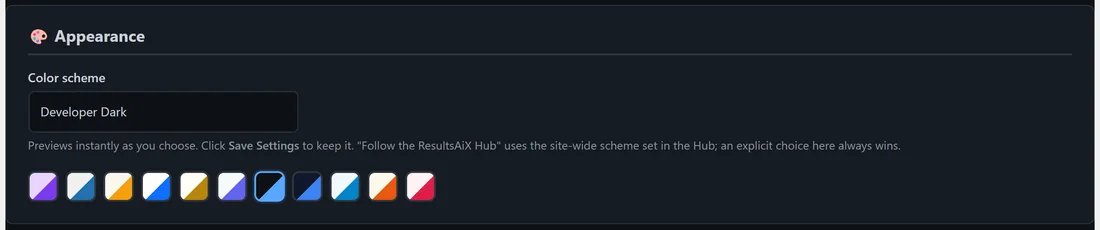
Pick Developer Dark in the menu and the panels turn dark at once. Nothing is stored until you click Save Settings, so leaving the screen without saving puts the old scheme back.
URL Settings:
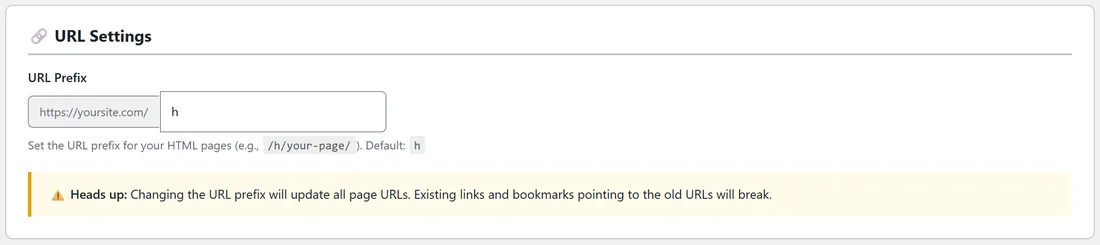
URL Prefix is the part of the address that comes before every page name. Your site address is shown in front of the box. With the default prefix h, a page lives at yoursite.com/h/your-page/. You could use offer, go, p or pages instead.
- The prefix is cleaned up when you save: letters are made lowercase, spaces become hyphens and most punctuation is removed.
- Leave the box empty and it goes back to h.
- The Heads up note on screen says it plainly: changing the prefix changes every page address, so old links and bookmarks stop working. When you save a new prefix, the plugin asks Changing the URL prefix will break all existing page links. Are you sure? Click OK only if you mean it.
- Choose your prefix early, before you share any links.
- Pick a prefix that is not already the address of a normal page or category on your site.
After a change, the plugin refreshes WordPress's address rules by itself on the next page load.
Code Injection:
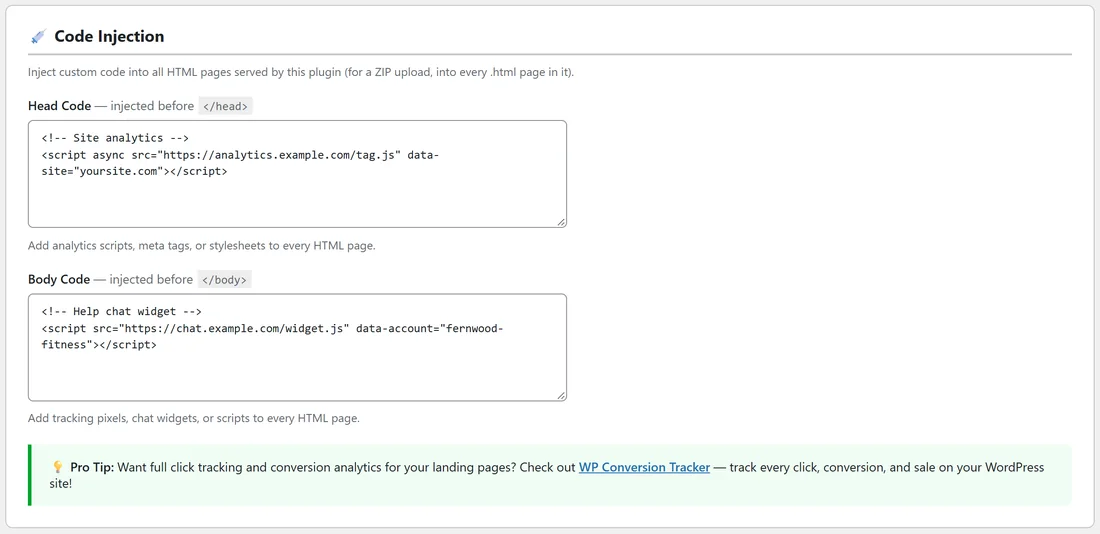
Code you add here goes into every HTML page the plugin serves. For a ZIP upload it goes into every .html page in the ZIP.
- Head Code, injected before </head>. For analytics scripts, meta tags or stylesheets.
- Body Code, injected before </body>. For tracking pixels, chat widgets or scripts.
Fernwood Fitness keeps its site analytics tag in Head Code and its help chat widget in Body Code, so every page gets both without touching the files. The full details are in the Code Injection article. Changing these two boxes needs the WordPress unfiltered HTML permission. An account without it sees a Read only note and the boxes are greyed out.
Uploads:

This panel is information only. It reminds you of the two kinds of upload and shows your limits:
- A ZIP can hold up to 2,000 files and 100 MB once unpacked.
- This server accepts uploads up to the size shown here. That is your host's upload limit, and it caps the size of any single file or ZIP you upload.
- Only web page files are kept from a ZIP: pages, images, styles, scripts, fonts, audio, video, PDF and text files.
- Uploading needs the unfiltered HTML permission (Administrators and Editors).
When the Plugin Is Deleted:

One checkbox: Delete all pages and files when the plugin is deleted.
- Off (the default): deleting the plugin removes only its settings and keeps your HTML pages and their files. If you install the plugin again, your pages come back at the same addresses.
- On: deleting the plugin also deletes every HTML page and the whole wp-content/fhp-pages/ folder.
Deactivating the plugin never deletes anything, whichever way this is set. Leave it off unless you are removing the plugin for good.
Save Settings:
Saves Appearance, URL Settings, Code Injection and When the Plugin Is Deleted together. You see Settings saved. at the top of the screen.
Help & your account:
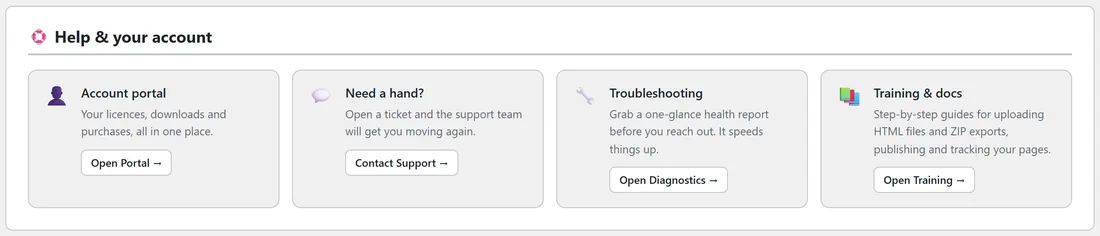
Four shortcut cards under the form:
- Account portal: Open Portal takes you to your licences, downloads and purchases at https://resultswithkevin.com/portal/
- Need a hand?: Contact Support opens https://kevinfahey.org/contact-support/
- Troubleshooting: Open Diagnostics opens the Diagnostics tab
- Training & docs: Open Training opens the Training tab
A real example:
Fernwood Fitness set up its Settings tab once, on the day it installed the plugin:
- Color scheme left on Follow the ResultsAiX Hub.
- URL Prefix left as h, so pages live at yoursite.com/h/...
- Head Code: the site analytics tag.
- Body Code: the help chat widget.
- When the Plugin Is Deleted left unticked.
It has not needed to change anything since. New pages pick up the analytics tag and chat widget the moment they are published.
Good values to start with:
- Color scheme: Follow the ResultsAiX Hub, so all your ResultsAiX plugins match.
- URL Prefix: keep h, or choose one short word now and never change it.
- Code Injection: only the tags you want on every page, such as your analytics tag.
- When the Plugin Is Deleted: off.
Next: Code Injection, and URLs, Permalinks And SEO.