This is the most useful article to read before your first single-file upload. A single .html file that shows without its pictures or styling almost always has the reason explained here, and the fix takes a few minutes. If your page comes with its own folders of images and styles, you can skip the fixing and upload it as a ZIP.
Two ways to upload:

The upload screen sums it up in its Two ways to upload box:
- One .html file: keep the CSS and JavaScript inside the file and use full web addresses (https://...) for images.
- A .zip: export your page or funnel with its folders and upload the .zip as it is. index.html becomes the main page, and relative links between the files keep working.
- Web fonts, CSS frameworks and scripts loaded from other sites work normally either way.
Why this matters:
When you upload a single .html file, Free HTML Pages serves that one file. Separate image, CSS or JavaScript files on your computer are not uploaded with it. Your page lives at an address like yoursite.com/h/your-page/. If your HTML says img src="images/photo.jpg", the browser asks for yoursite.com/h/your-page/images/photo.jpg. A single-file page only answers its exact address, so that image is not found. When you upload the page as a ZIP, its images, styles and scripts are served under the page address and that same path works.
The rules for a single-file page that works first time:
- CSS goes inside style tags in the head of the file, or is linked from a full address that starts with https://
- JavaScript goes inside script tags in the file, or is linked from a full https:// address.
- Images, videos and downloads use full addresses that start with https://
- Small icons and shapes can be written straight into the file as SVG, so they need no address at all.
- Web fonts and code libraries from public content delivery networks load normally.
- Give the file a proper head and body, with both closing tags, </head> and </body>. Code Injection places your code just before them.
- Save the file as UTF-8 and include meta charset="utf-8" in the head. The plugin sends every page as UTF-8, so this keeps accents and symbols looking right.
- Use https:// addresses on an https site. Browsers may block http:// images and scripts on a secure page.
A real example:
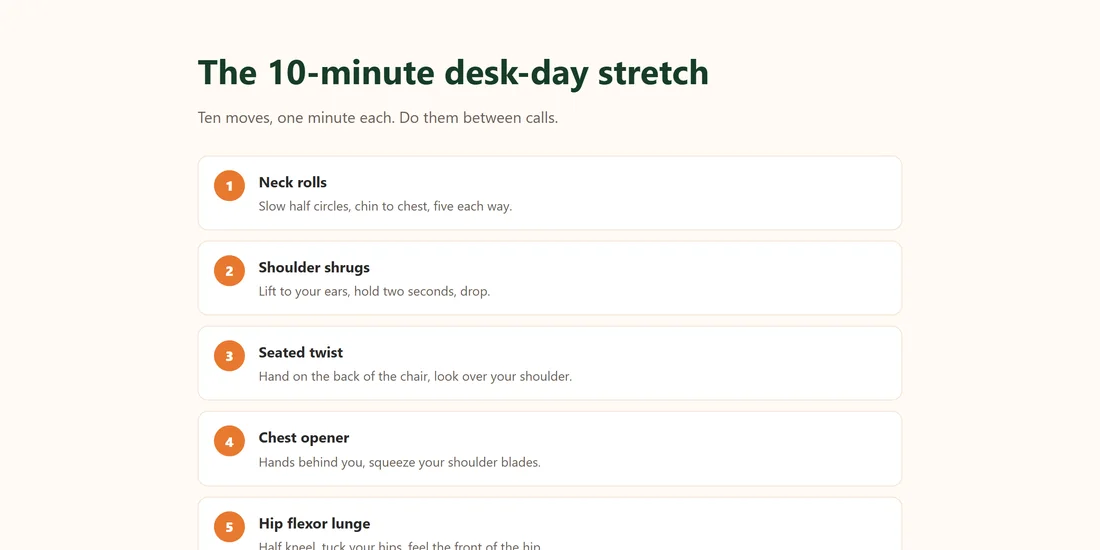
The Fernwood Fitness Free Stretch Guide is a single file. Its styles sit in one style tag in the head, the numbered circles are plain HTML and CSS, and there are no outside image files. It uploads as stretch-guide.html, 2 KB, and looks the same on the site as it did on Jamie's computer.
Host your images in WordPress:
- In your admin, go to Media, then Add New and upload your images.
- Click an image and click Copy URL to clipboard.
- In your HTML, replace the relative path, for example images/photo.jpg, with the address you copied.
- Repeat for each image, save the file and upload it.
Time saver: if you upload all your images to the Media Library at the same time, they share the same address start, for example https://yoursite.com/wp-content/uploads/2026/11/. Use your text editor's find and replace to change images/ to that address in one go.
Bring linked CSS into the file:
- Open the .css file in a text editor and copy everything.
- In your HTML head, paste it between style and /style tags.
- Delete the old link tag that pointed at the .css file.
Bring linked JavaScript into the file:
Do the same with each .js file: paste its contents between script and /script tags where the old script tag was, and remove the src attribute.
Downloads and PDFs:
Upload the PDF or file to Media, Add New, copy its address, and point your download button at that address. On a ZIP page you can also keep the PDF inside the ZIP and link to it with a relative path.
What about ZIP files?
The upload box accepts a .zip as well as .html and .htm files. If you have a PLR pack or an export from a page or funnel tool, zip the page with its folders and upload the .zip. The plugin unpacks it and serves every file under your page's address, so paths such as images/photo.jpg keep working with no changes to your HTML. If the ZIP holds several HTML pages, they all go live from that one upload. Uploading A ZIP Of A Full Page Or Funnel Export has the full steps. Prefer one file? Then follow the steps above so the page no longer needs the other files.
Fonts:
- Web fonts loaded from a font service with a link tag work normally in a single file.
- Font files you host yourself (woff, woff2, ttf, otf) work in a ZIP page, with a relative path in your CSS such as fonts/brand.woff2.
- For a single file, a font service link is the easiest choice.
Video and audio:
- For a single file, embed videos from a video host such as YouTube or Vimeo with their embed code.
- In a ZIP page you can include mp4, webm, mp3 or other media files. They are served with support for jumping ahead, so visitors can skip through a video.
- Keep big video files under your server's upload limit, or host them elsewhere.
Check your work:
After you publish, click Preview Page → and look for missing images or plain unstyled text. Anything missing is almost always still pointing at a relative path. In your browser, right-click the page and choose Inspect, then open the Console tab: any file that did not load is listed there with its address.
A note on PHP:
The plugin sends your file exactly as it is. PHP code inside an HTML file does not run, and PHP files inside a ZIP are left out. Use plain HTML, CSS and JavaScript, and use your email service's form code for opt-in forms.
Next: How To Publish PLR, AI-Made, Bonus And Funnel Pages.