The Settings tab is short: your licence, how the Engage screens look, and how Engage behaves on your site.
Where to find it:
Open ResultsAiX Engage and click the Settings tab. Your licence panel is at the top. See Installation And Licence Activation.
Appearance:
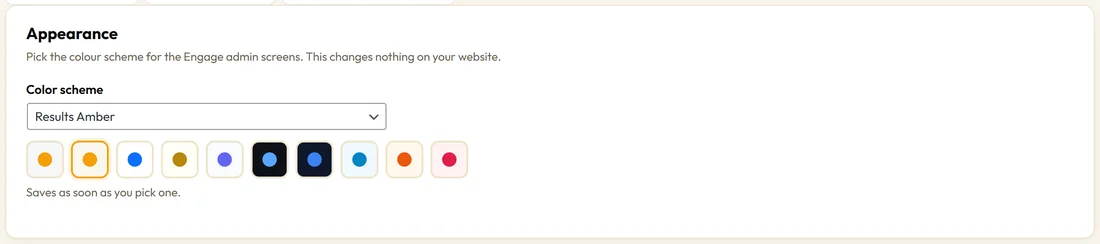
Color scheme changes the look of the Engage admin screens only. Nothing on your website changes.
- Follow the ResultsAiX Hub: use the scheme you set once for all your ResultsAiX plugins.
- Or one of 10 schemes: WordPress Native, Results Amber, Clean White, Ivory Cream, Snow Light, Developer Dark, Midnight Blue, Ocean Blue, Sunset Warm and Rose Pink.
Pick from the list or click a swatch. It saves as soon as you pick.
Behaviour:
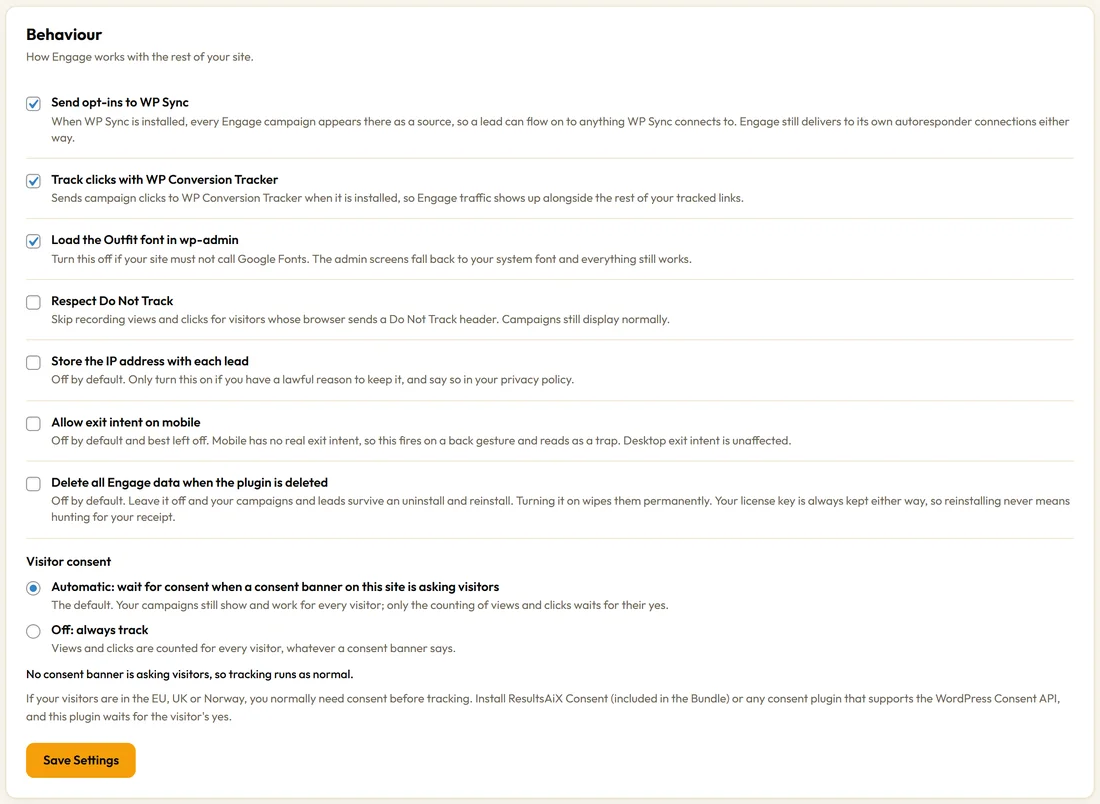
Seven switches. Change them, then click Save Settings at the bottom of the card.
- Send opt-ins to WP Sync: on by default. With WP Sync installed, every campaign appears there as a source. See Using Engage With WP Sync.
- Track clicks with WP Conversion Tracker: on by default. Leave it on. To see Engage clicks in WP Conversion Tracker, use a WP Conversion Tracker link as the campaign's Button link.
- Load the Outfit font in wp-admin: on by default. Turn it off if your site must not load Google Fonts. The screens then use your system font.
- Respect Do Not Track: off by default. When on, views and clicks are not counted for visitors whose browser sends Do Not Track. Campaigns still show.
- Store the IP address with each lead: off by default. Only turn it on if you have a lawful reason, and say so in your privacy policy.
- Allow exit intent on mobile: off by default, and best left off. Desktop exit intent is not affected.
- Delete all Engage data when the plugin is deleted: off by default. See below.
Visitor consent:

Visitor consent decides whether Engage waits for a visitor's yes before counting their views and clicks.
- Automatic: wait for consent when a consent banner on this site is asking visitors. The default. Campaigns still show and work for every visitor; only the counting waits for their yes.
- Off: always track. Views and clicks are counted for every visitor.
Under the choices, a line tells you what is happening on your site right now, for example No consent banner is asking visitors, so tracking runs as normal.
Engage recognises ResultsAiX Consent and any consent plugin that supports the WordPress Consent API. If your visitors are in the EU, UK or Norway you normally need consent before tracking, so install one and leave this on Automatic.
What waits for the yes:
- The view, click and close counts
- The page view and visit counters used by the New and Returning visitor, page view and repeat visit rules
- Which split test version a visitor is remembered in
What never waits:
- Every campaign, button and form
- Lead forms, which are the visitor's own choice
- Remembering that a visitor closed a campaign or already signed up, so it is not shown again
Keeping your data:
Leave Delete all Engage data when the plugin is deleted off and your campaigns, statistics and leads survive an uninstall and reinstall. Deleting a plugin is often a quick tidy up, not a goodbye. Your licence key is always kept either way.
The other tabs:
- Training: short written guides to every feature, inside WordPress.
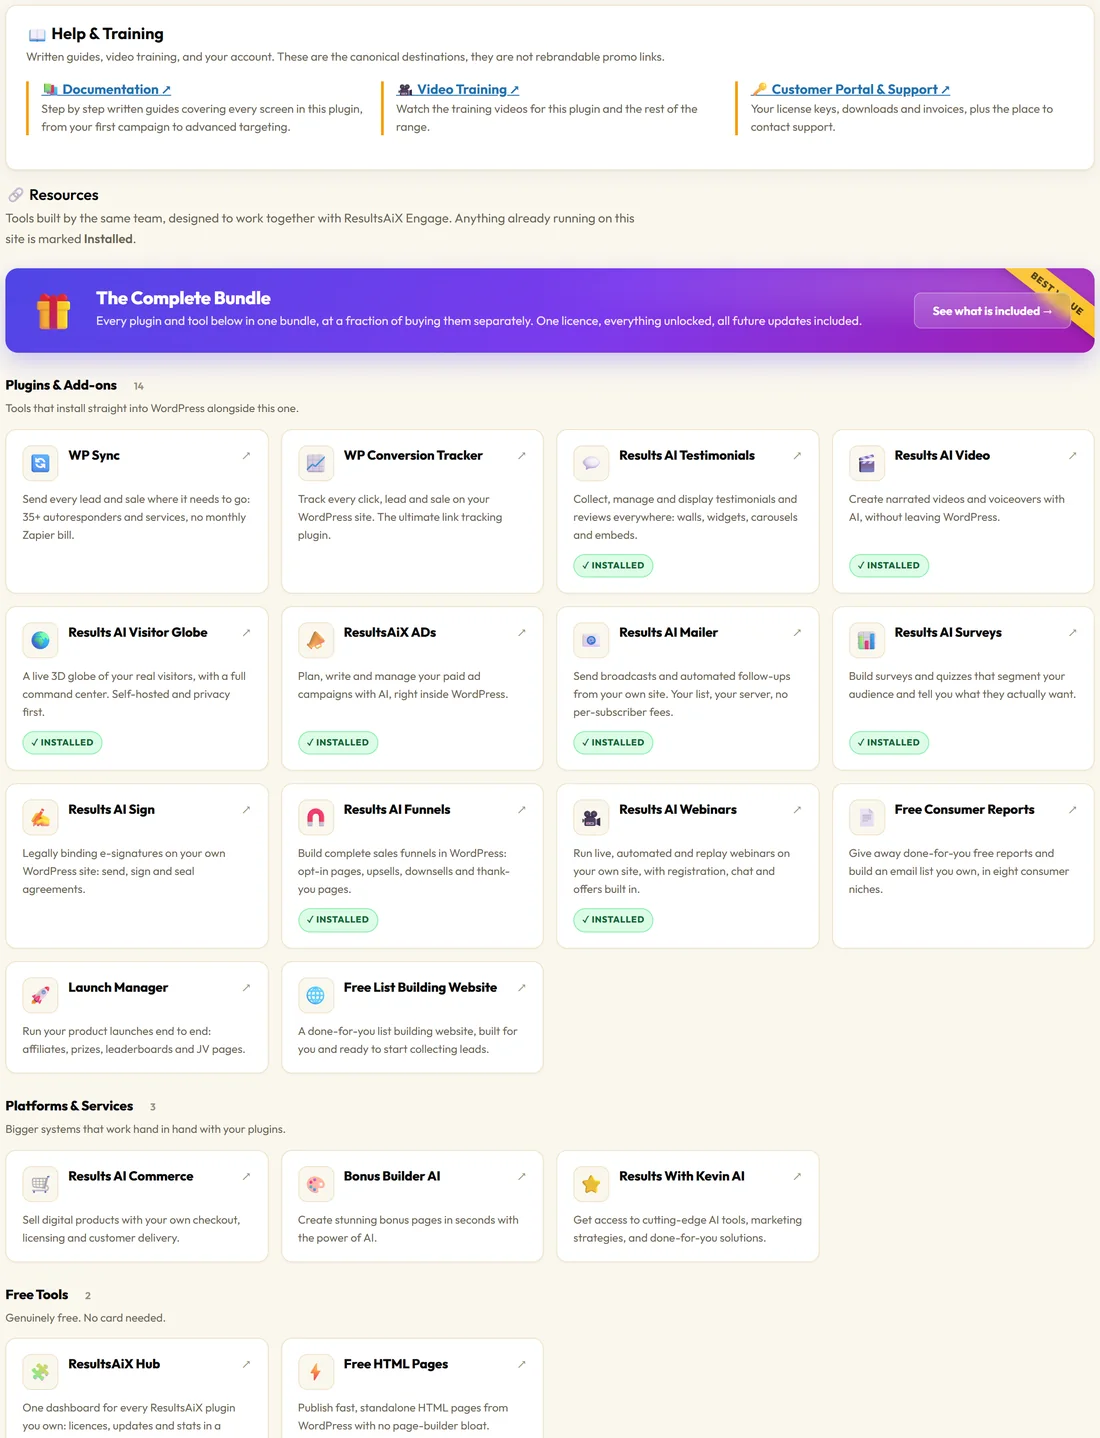
- Resources: Help and Training links to the documentation, video training and your customer portal, plus the wider ResultsAiX toolkit, with anything already on your site marked Installed.
- PRO: your AI control panel. See PRO: Bring Your Own AI Key.
A real example:
Northside sells across the UK and Ireland, so they install ResultsAiX Consent and leave Visitor consent on Automatic. Their campaigns show to everyone straight away, and numbers are counted for everyone who says yes to analytics.
Choosing your consent setting:
- You run ResultsAiX Consent or another consent plugin for EU, UK or Norway visitors: leave Automatic.
- You have no consent banner: Automatic changes nothing, so leave it.
- You have a banner for other reasons and are sure you may count without asking: choose Off.
Tips:
- Pick a colour scheme you like and switch the other ResultsAiX plugins to Follow the ResultsAiX Hub for one look everywhere.
- Turn on Respect Do Not Track if your privacy policy promises it.