The Opt-in tab turns any campaign into an email capture. Every lead is saved on your own site first, then sent on to your autoresponder, your webhook, or both.
Where to find it:
Open a campaign in the builder and click the Opt-in tab. Tick Turn this campaign into an opt-in and the Form and Where leads go groups appear.
The form:
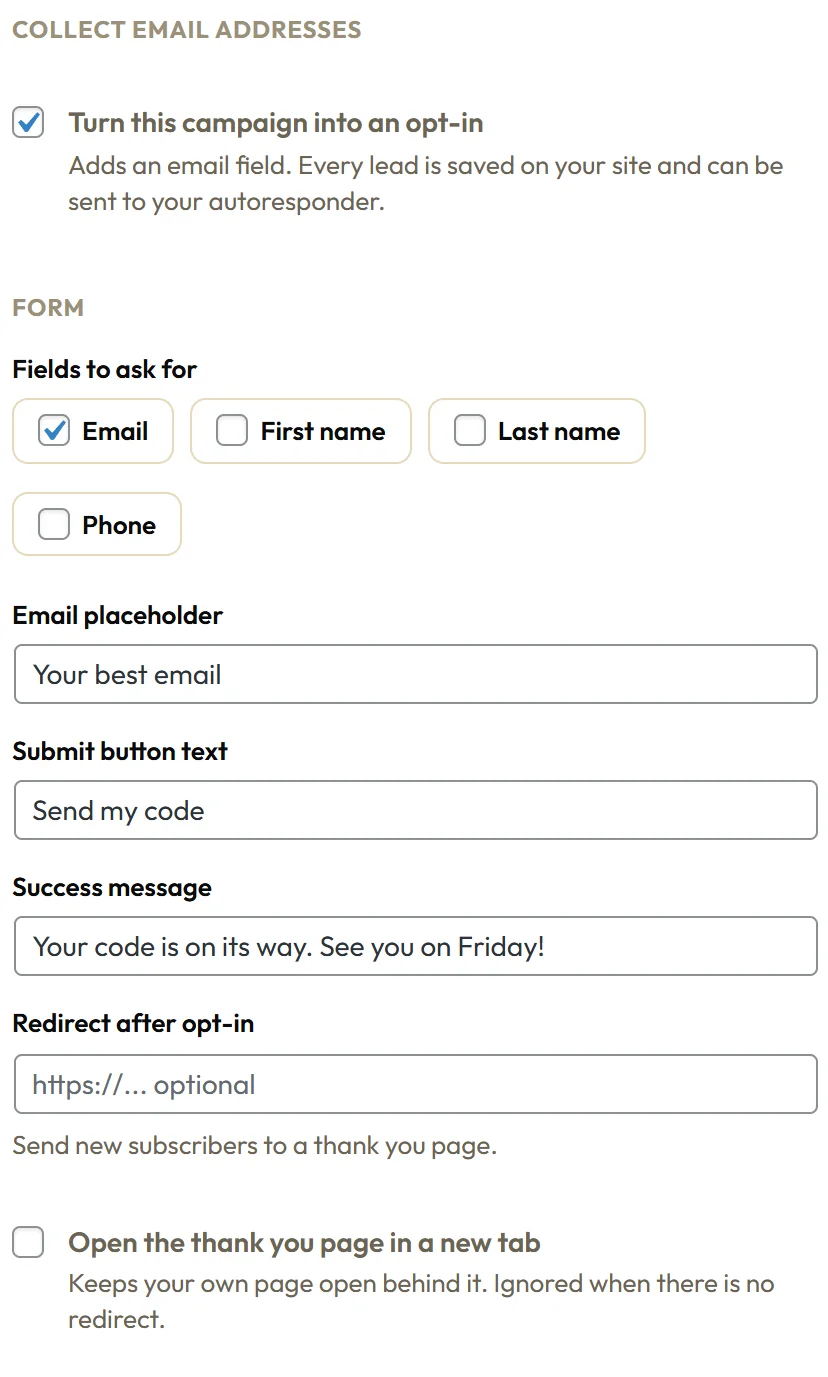
- Fields to ask for: Email, First name, Last name and Phone, in any mix. When Email is ticked the visitor must fill it in. First name, Last name and Phone are optional for the visitor.
- Email placeholder: the grey text inside the email box, for example Your best email.
- Submit button text: the words on the button, for example Send me the guide.
- Success message: shown in place of the form after a successful opt-in.
- Redirect after opt-in: an optional thank you page address.
- Open the thank you page in a new tab: keeps your own page open behind it.
After a successful opt-in the visitor sees your Success message. A popup or bar then closes by itself after a couple of seconds. With a redirect, the thank you page opens instead.
Where leads go:
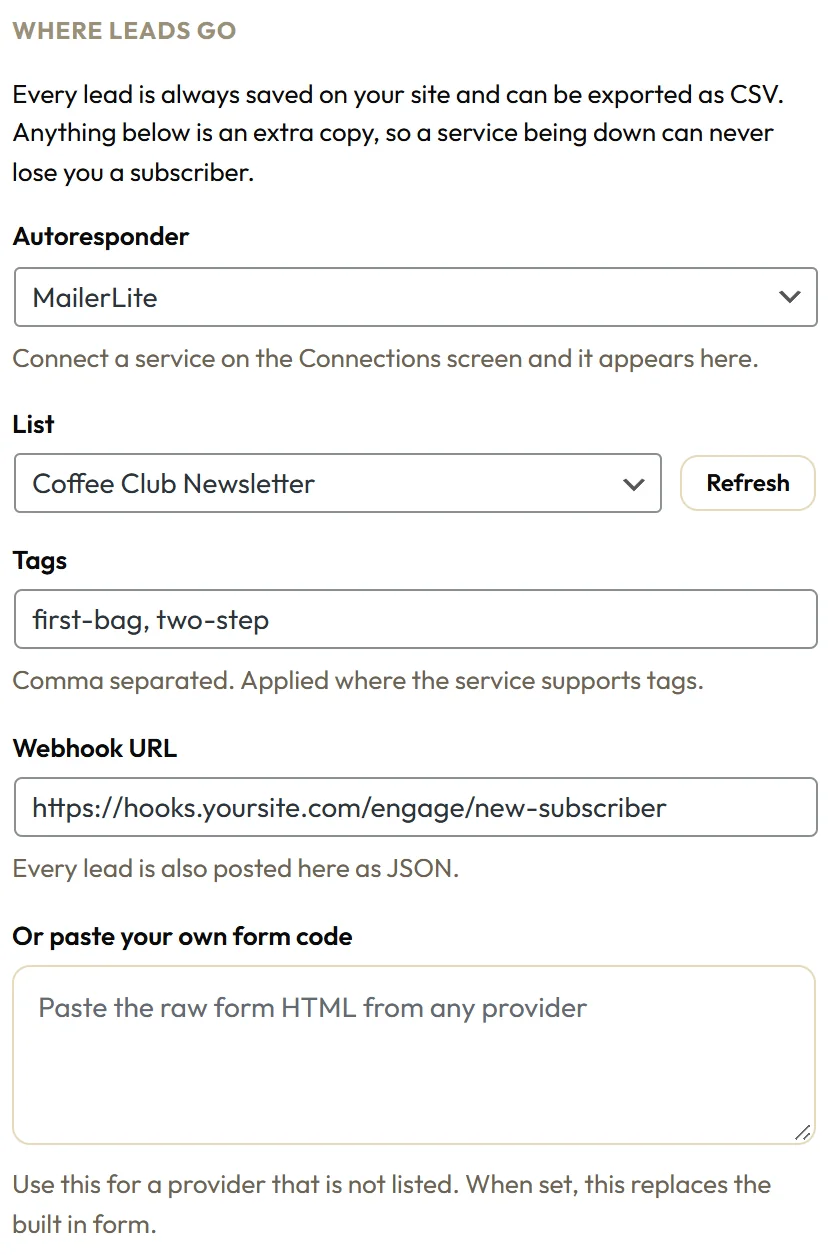
- Autoresponder: any service you connected on the Connections tab, or Save on this site only.
- List: loaded live from that service. Click Refresh to load it again. When a service has 8 lists or more, a search box appears above it.
- Tags: a comma separated list, applied where the service supports tags.
- Webhook URL: every lead is also posted here as JSON.
- Or paste your own form code: raw form code from any provider. When set, it replaces the built in form.
Save on this site only still captures, stores and exports every lead. Nothing is lost.
The Button group on the Content tab:
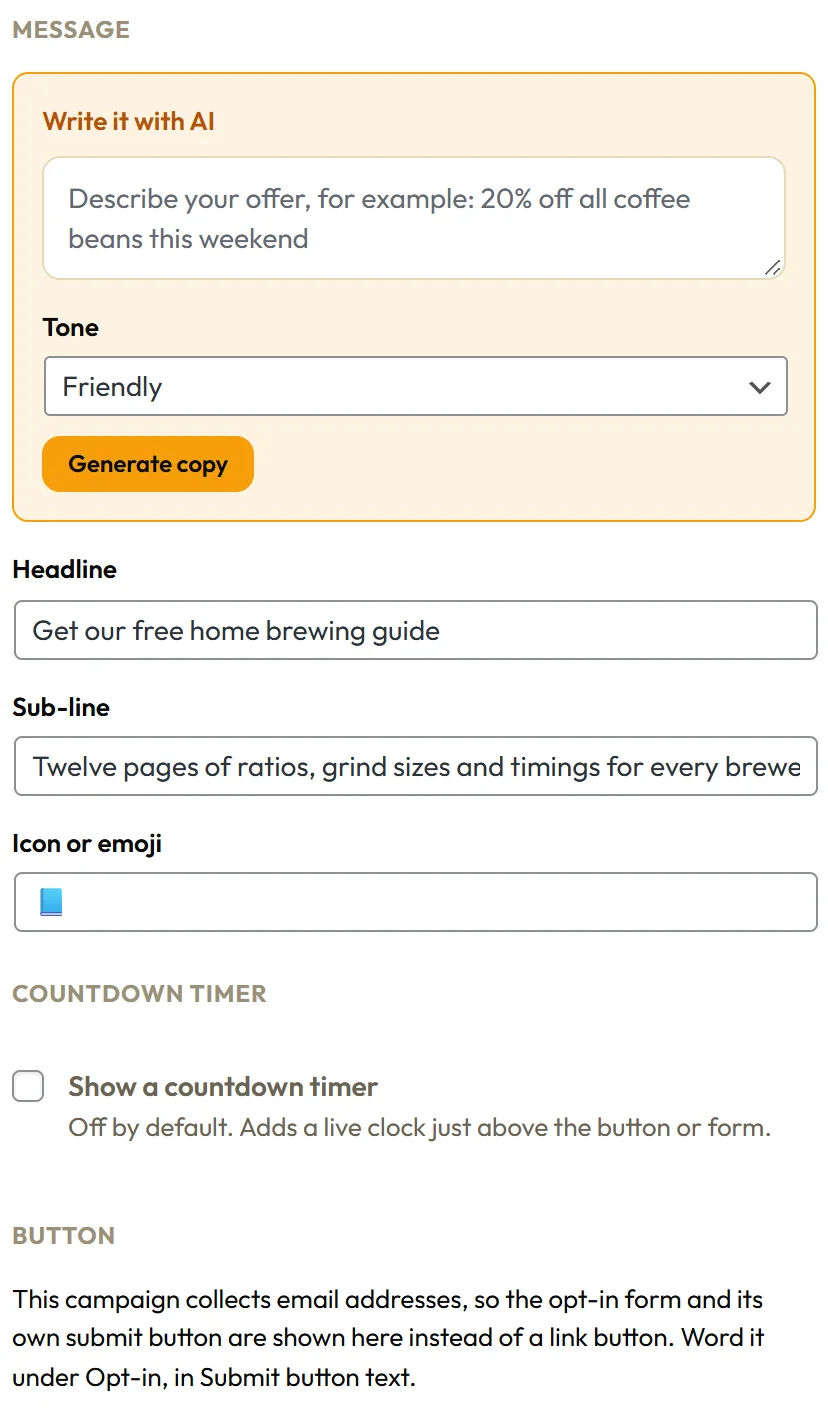
When a campaign collects emails, the Content tab's Button group explains that the form's own submit button is shown instead of a link button. Word that button here, in Submit button text.
A real example:
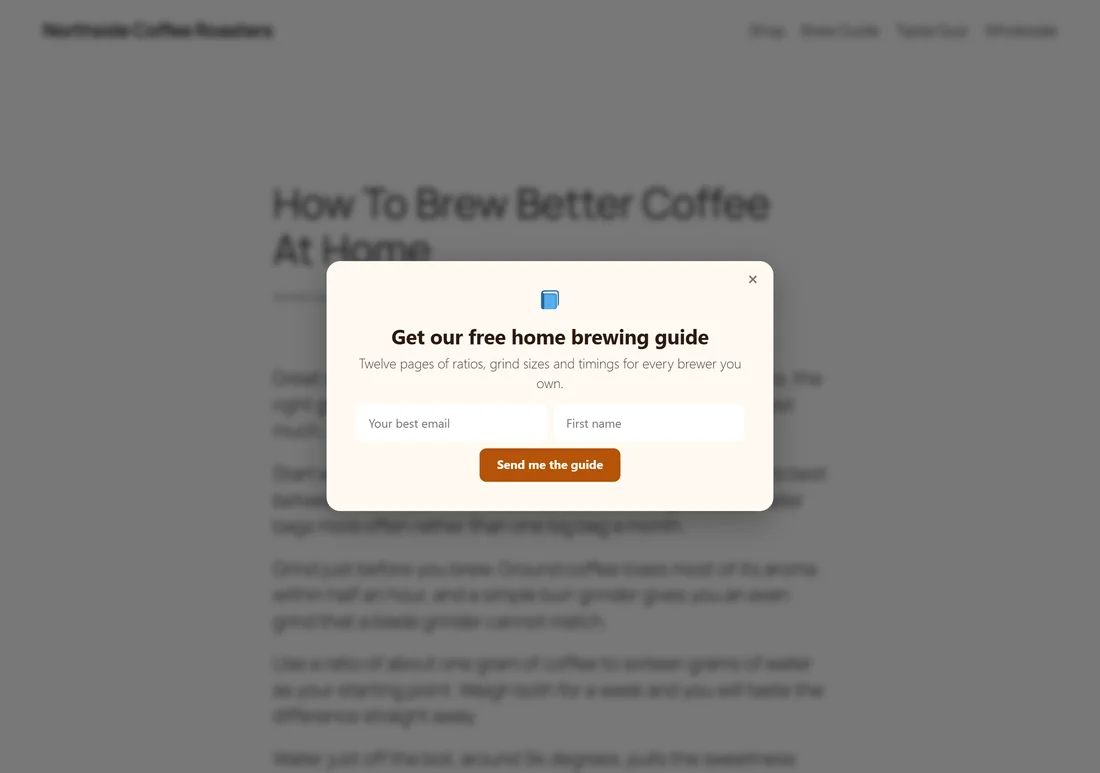
Northside's Brew Guide Exit Popup:
- Turn this campaign into an opt-in: ticked.
- Fields to ask for: Email and First name.
- Submit button text: Send me the guide.
- Success message: Check your inbox, the guide is on its way.
- Autoresponder: MailerLite. List: Brew Guide Downloads.
- Tags: brew-guide, exit-popup.
Built in spam protection:
Forms must work on cached pages, so Engage protects the lead route in three quiet ways: a hidden field that people never see and bots fill in, a minimum of 2 seconds between the campaign showing and the form being sent, and a limit of 20 sign ups per internet address per hour. Real visitors never notice any of it.
Your delivery details stay private:
Where a lead goes is decided on your server from the campaign itself. The autoresponder, list, tags and webhook address are never sent to the visitor's browser.
Choosing your fields:
- Email only: the highest sign up rate. Best for newsletters and lead magnets.
- Email and First name: lets you write Hi Amelia in your emails. A small drop in sign ups, often worth it.
- Last name and Phone: ask only when you will really use them, for example a wholesale enquiry or a call back.
Messages visitors may see:
- Please enter a valid email address: the email has a typo. They fix it and click again.
- Please fill in every required field: a required field is empty.
These appear inside the campaign, under the form, so the visitor never loses what they typed.
Tips:
- Email only converts best. Add First name when you will use it in your emails.
- Match the Submit button text to the promise in your headline.
- Test with your own address, then check the Leads tab and your autoresponder.
- See Connecting An Autoresponder and Webhooks And Raw Form Embeds.