This is the fastest path from nothing to a live survey. Follow the steps in order and you will have a survey on a page, collecting answers, in a few minutes. Every step links to a longer guide when you want more.
Where to find it:
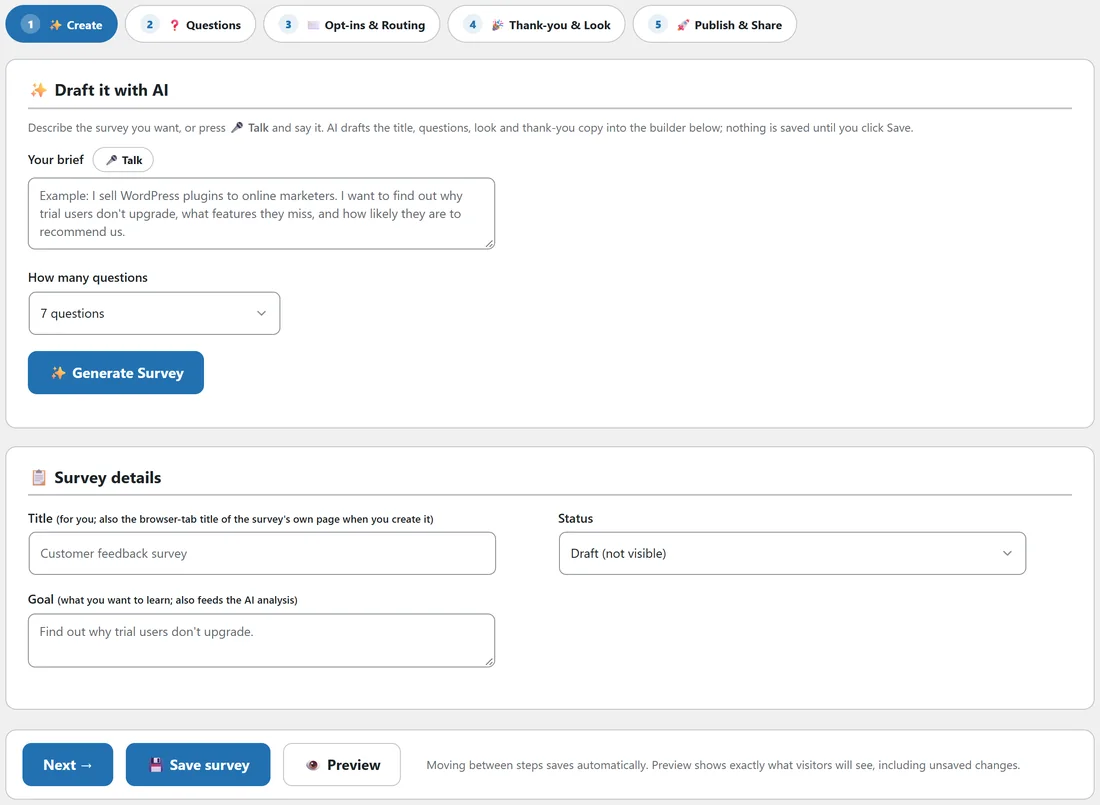
In WordPress, open AiX Surveys and click New Survey, either in the tab row or in the AiX Surveys menu on the left. The builder opens on its first step, Create.
Step 1, create the survey:
- Click New Survey.
- If an AI key is connected, the Draft it with AI box is at the top. Type what you want to learn in Your brief, pick How many questions, and click Generate Survey. The draft lands in the builder for you to check.
- With no AI key, the Draft it with AI box is not shown. Fill in Survey details instead: a Title for yourself and a Goal, then click Next to reach the Questions step.
Step 2, add or review the questions:
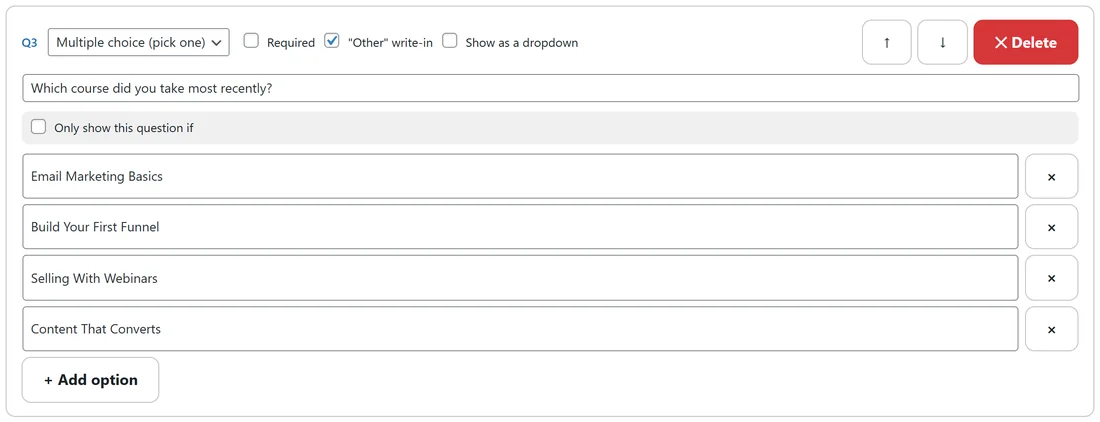
- On the Questions step, click Add question for each question you want.
- Pick the type from the dropdown, type the question, and fill in the answer options when the type needs them.
- Tick Required only on the questions the survey cannot do without.
- Use the up and down arrows to change the order. Visitors see one question at a time, in this order.
Step 3, decide on the email step:
Click Next to reach Opt-ins & Routing. Under Ask for an email choose Off, never ask, Optional, visitors can skip it, or Required to submit. Optional is a good first choice for feedback. If you use ResultsAiX Mailer or a connected email service, pick the list the opt-ins should join under Where opt-ins go.
Step 4, set it live:
- Click Back to the first step, Create.
- Change Status to Active (collecting responses).
- Click Save survey.
A survey in Draft or Closed status shows nothing to visitors, which is why this step matters. Moving between steps saves the survey for you, and a small Saved message confirms it.
Step 5, publish it:
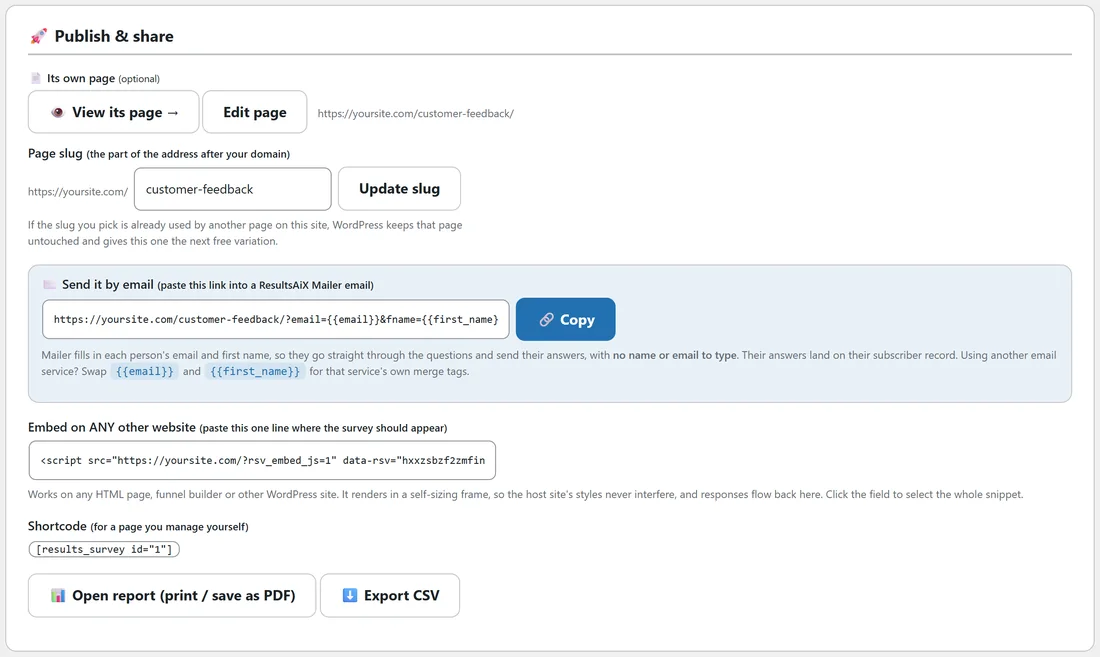
Click the last step, Publish & Share. You now have three ways to put the survey in front of people:
- Copy the shortcode, which looks like [results_survey id="1"], and paste it into any page or post.
- Click Create page to give the survey a clean page of its own at an address you choose.
- Copy the one line embed snippet to place it on another website.
Step 6, read the results:
Answers appear on the Responses tab as soon as people send them. The Summary view shows a chart for every question. With a few responses in, open AI Insights for the full report and, with an AI key, click Read my results for a written summary.
A real example:
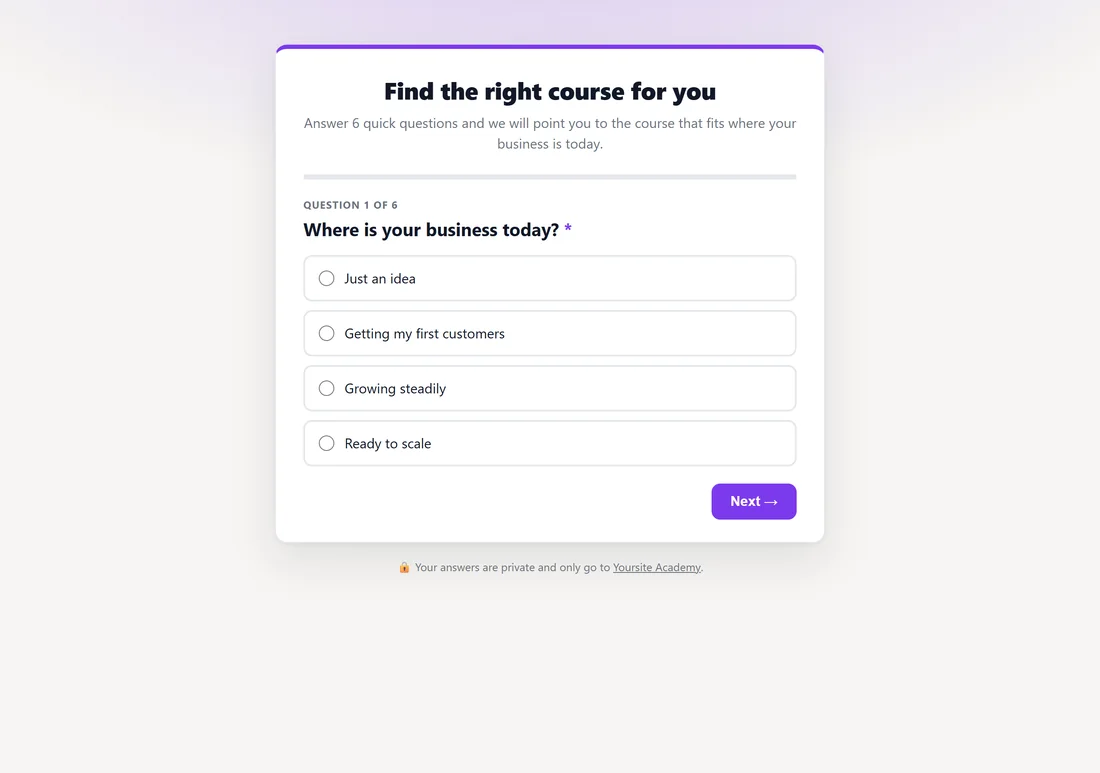
Yoursite Academy wants to know how course buyers feel. The owner clicks New Survey, types "Find out how happy course buyers are, which course they took, and what would help them most next year" as the brief, and generates 6 questions. On Opt-ins & Routing she sets Ask for an email to Optional and picks her Customers list. She sets the status to Active, saves, then on Publish & Share clicks Create page with the slug customer-feedback. The survey is live at yoursite.com/customer-feedback/ and she links it from her next newsletter.
What the shortcode looks like:
Every saved survey has its own shortcode in the form [results_survey id="1"], where the number is that survey's id. You see it under Survey details, on the Publish & Share step, and on every row of the Surveys tab. Paste it into a page, post or page builder block that accepts shortcodes.
Tips:
- Click Preview at any time to try the survey exactly as visitors will see it. Nothing is recorded from a preview.
- Keep the first survey short: five to seven questions. See Writing Surveys People Actually Finish.
- Next, read Email Opt-Ins: Turning Answers Into Subscribers to turn answers into subscribers.