Every report is a small funnel with two pages and a PDF. Knowing the path a visitor takes makes every setting in the plugin easier to understand, because each one changes a single step of that path.
This article follows one visitor through the Meal Prep Made Easy report on the demo site yoursite.com.
Step 1, the squeeze page:
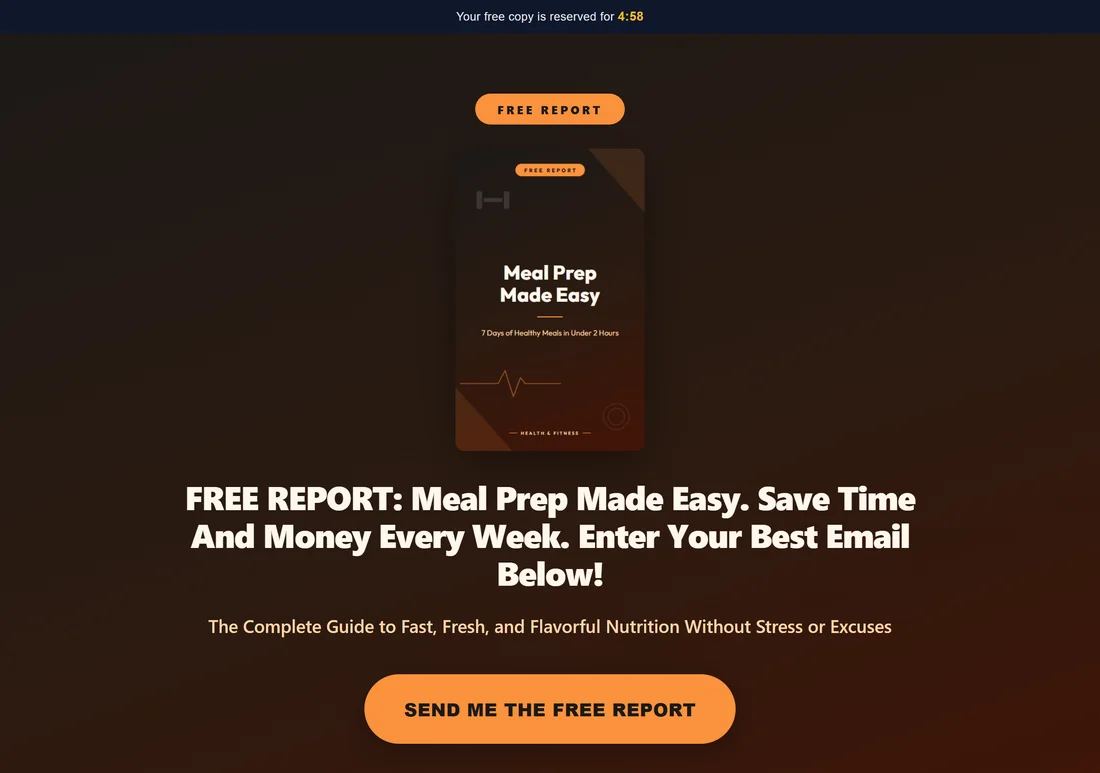
The visitor clicks a link such as yoursite.com/reports/HealthMealPrepMadeEasy/. They land on the report's opt-in page, which we call the squeeze page. It shows the cover, the headline, a short line under it and a big button, here SEND ME THE FREE REPORT.
The page is served by the plugin, outside your WordPress theme. There is no menu, sidebar or footer from your theme to pull attention away from the opt-in.
At the top, a slim bar says "Your free copy is reserved for" with a five minute countdown. That is the Urgency Timer. See Exit Intent, Urgency Timer And Progress Bar.
Step 2, the opt-in popup:
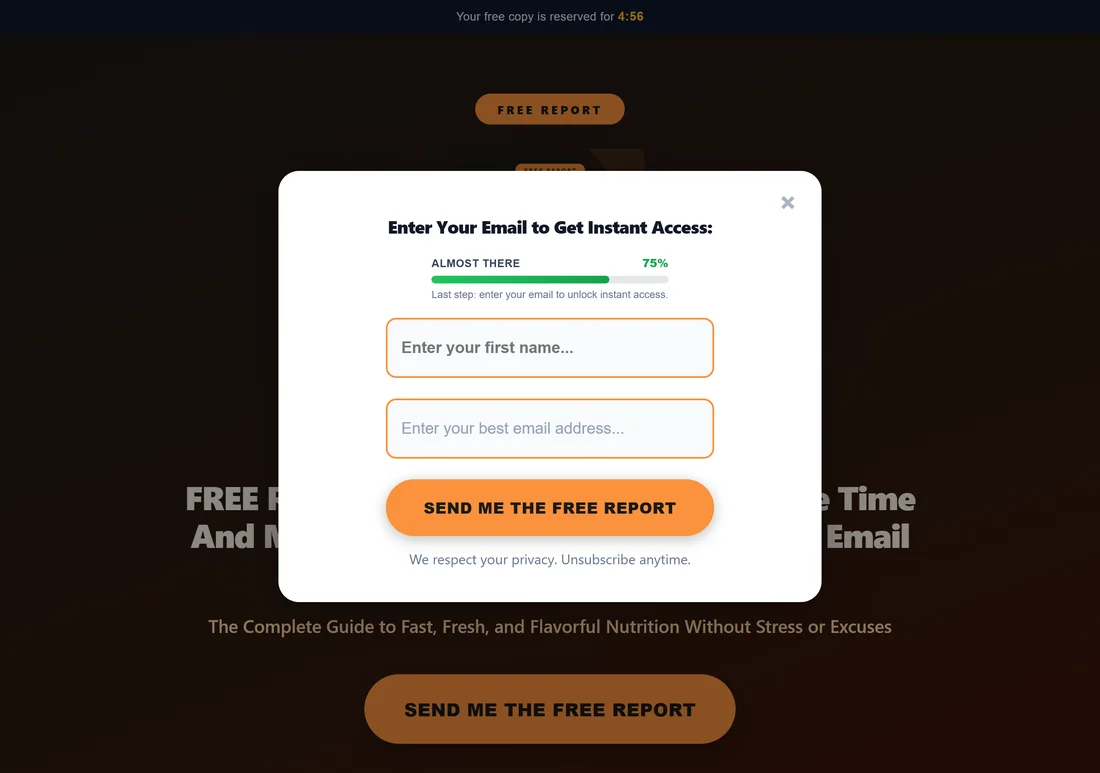
The visitor clicks the button and a popup opens: "Enter Your Email to Get Instant Access:". Above the form a small progress bar says ALMOST THERE 75%. The form asks for a first name (when Collect First Name is ticked in Settings) and an email address.
If the visitor reads the page for 30 seconds, or moves the mouse up to leave, the same popup opens by itself on a desktop computer. That is the Exit-Intent Popup.
Step 3, the email goes to your list:
When the visitor sends the form, the plugin passes the name and email to the email service you connected, into the list set for this report. It also saves a copy in its own database, so you see every lead on the Lists tab even if your email service is having a slow day. See Connecting Your Autoresponder.
Step 4, the download page:
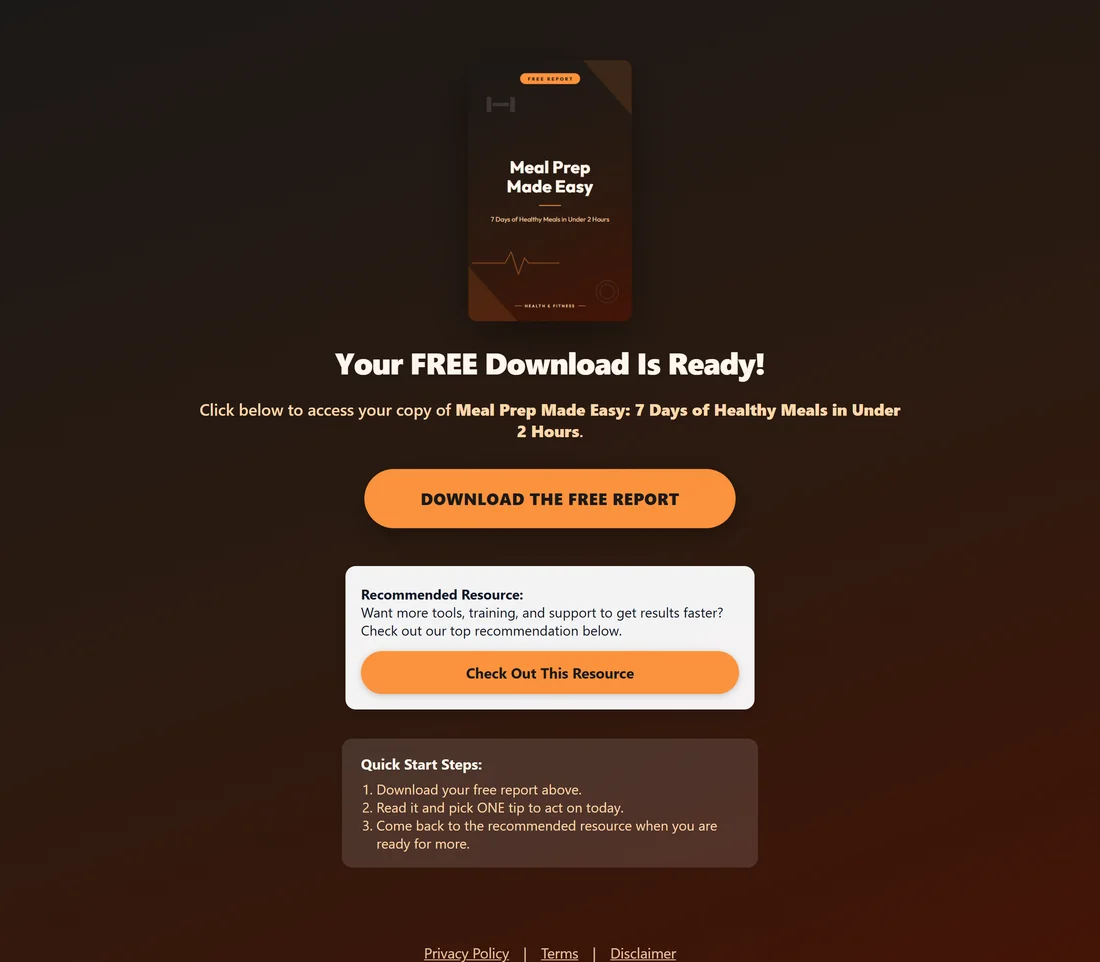
The visitor lands on the download page, for example yoursite.com/reports/HealthMealPrepMadeEasy/download.html. It says "Your FREE Download Is Ready!" with a DOWNLOAD THE FREE REPORT button.
Under it sits your offer. By default this is the Recommended Resource box with a Check Out This Resource button. You can replace it with up to 5 resource cards and 5 banners of your own. See The Download Page And Its Offer Slots.
Step 5, the PDF:
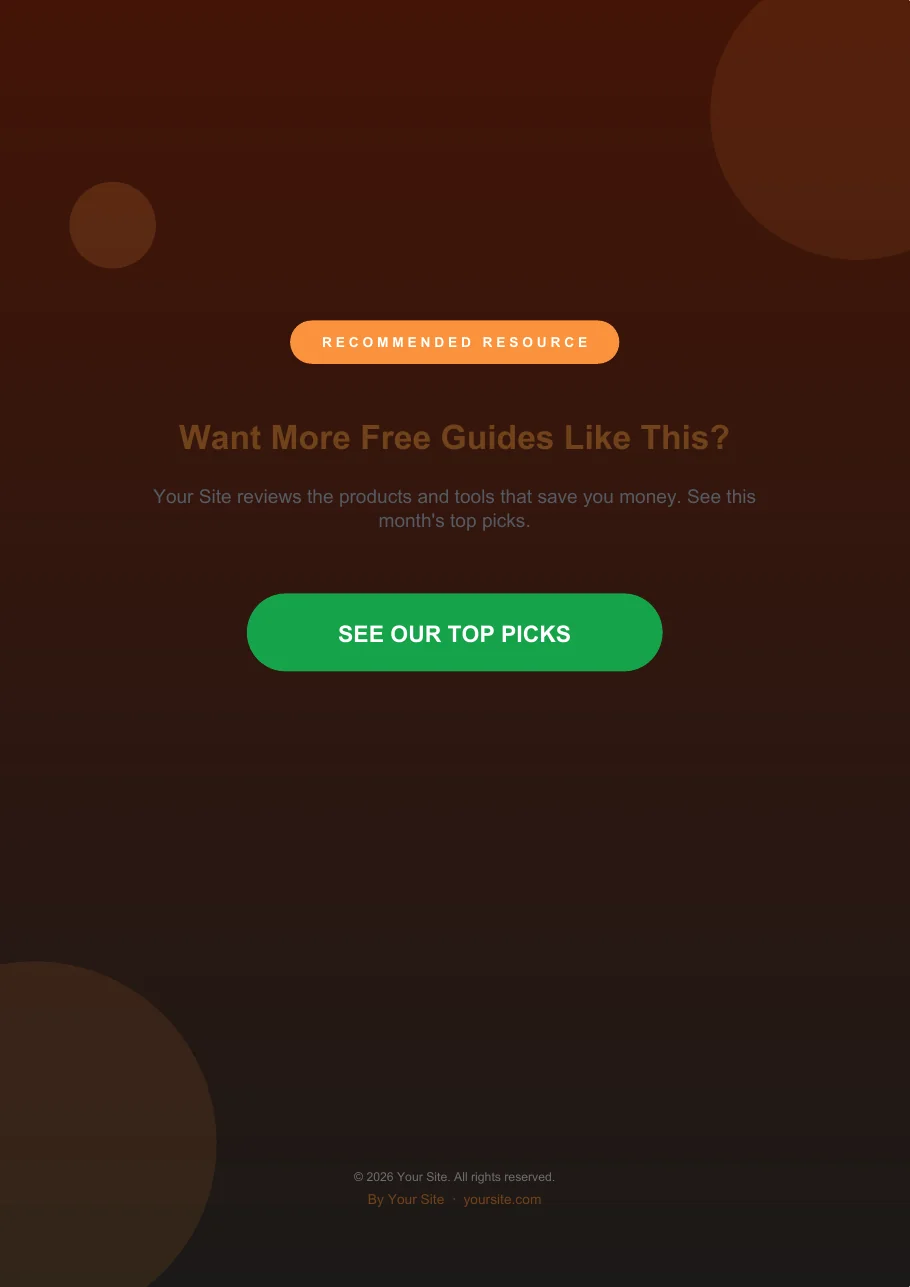
The button opens the report PDF. If you used the PDF Rebrander, the visitor gets your rebranded copy, with your call to action page at the start, the end, or both. See Rebranding The PDF Reports.
Step 6, the offer link:
The offer buttons on the download page and in the PDF use the report's smart link, for example yoursite.com/reports/HealthMealPrepMadeEasy/go. When someone clicks it, the plugin checks their country and sends them to the right offer. Change the offer in Settings at any time and every page and every PDF already shared follows the new destination. See Geo Smart Links And Per Country Offers.
Where each step is set up:
- Which reports are live: the Funnels tab.
- The headline, design and page template of one report: its Edit page, under Customization.
- The email service and list: the Autoresponders tab, Settings, or the report's Edit page.
- The timer, progress bar, popup and name field: Settings, or the report's Edit page.
- The offer link: Settings (Default Affiliate Link and Geo Smart Links), or the report's Edit page.
- The resource cards and banners on the download page: Settings, or the report's Edit page.
- The PDF call to action page: the PDF Rebrander tab.
- Tracking pixels: Settings, or the report's Edit page.
How visits are counted:
Each time the squeeze page loads, the report gets one page view. Each time the download page loads, it gets one opt-in. The conversion rate is opt-ins divided by page views. You see these on the Dashboard and at the top of each report's Edit page. See Tracking What Works.
Tips:
- Open a report as a visitor before you share it. Use a private browser window so you see exactly what a new visitor sees.
- Send yourself through the whole funnel once with a real email address, then check it arrived in your email service.
- When one report is doing well, give it its own list and its own offer on its Edit page.