The Settings tab holds everything that applies to all documents: who the emails come from, the default deadline, how dates are written, the look of the admin screens, the connections to your other tools, your licence, and the full wipe.
Set the Sending section before your first real document. Everything else can wait until you need it.
Where to find it:
Open AiX Sign and click the Settings tab. Most sections share one Save Settings button in the bar at the bottom of the screen. The licence panel and the Danger Zone have their own buttons.
Sending:
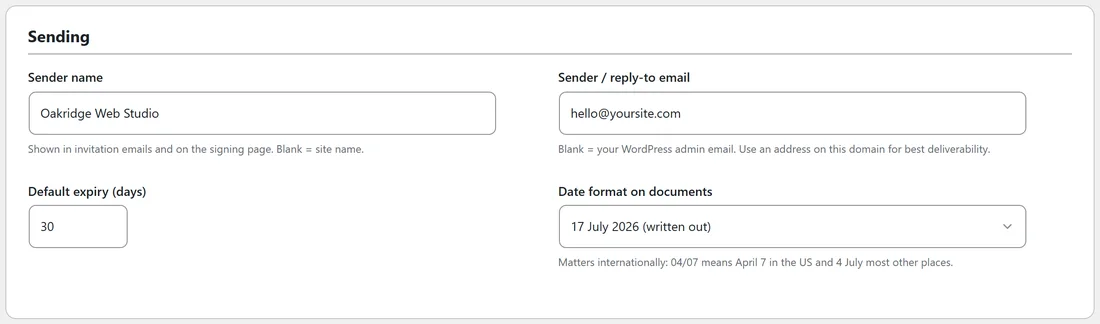
- Sender name: shown as the sender in emails and at the top of the signing page. Leave it blank to use your site name. A good value is your business name, such as Oakridge Web Studio.
- Sender / reply-to email: used as the From and Reply-To address on every email. Use an address on your own domain, such as hello@yoursite.com. If you leave it blank, WordPress or your mail plugin chooses the From address.
- Default expiry (days): the deadline for new documents, from 1 to 365. It starts at 30.
- Date format on documents: DD/MM/YYYY (international), MM/DD/YYYY (US), YYYY-MM-DD (ISO), or the written out format, such as 17 July 2026.
The date format is used for the dates printed in the agreement, the dates on the Documents tab, and the deadline in emails. The written out format can never be misread, which helps with international clients.
Appearance:
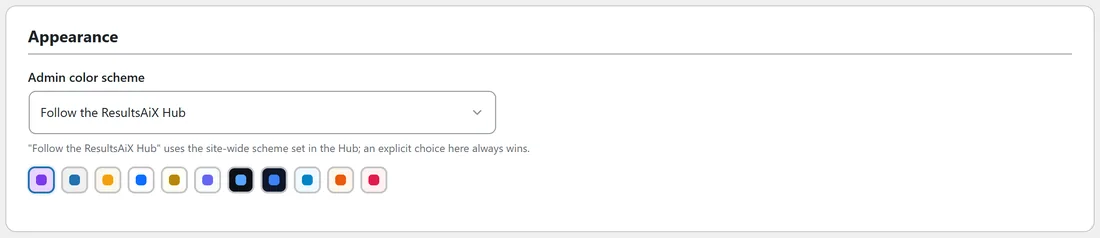
Admin color scheme changes how the plugin's own admin screens look. It does not change the signing page.
- Follow the ResultsAiX Hub: the default. Uses the scheme set in the ResultsAiX Hub, if you have it.
- Ten schemes: WordPress Native, Results Amber, Clean White, Ivory Cream, Snow Light, Developer Dark, Midnight Blue, Ocean Blue, Sunset Warm and Rose Pink.
Click a swatch to try a scheme, then click Save Settings. A choice here always wins over the Hub.
Signer page branding, PRO:

With PRO active, this section has:
- Logo URL: the address of your logo image, shown at the top left of every signing page
- Accent color: the colour of the buttons and highlights on the signing page
- Company name (replaces "Powered by" line): shown at the bottom of every signing page
Without PRO, the section shows a short note and a See What PRO Unlocks button.
Automation:
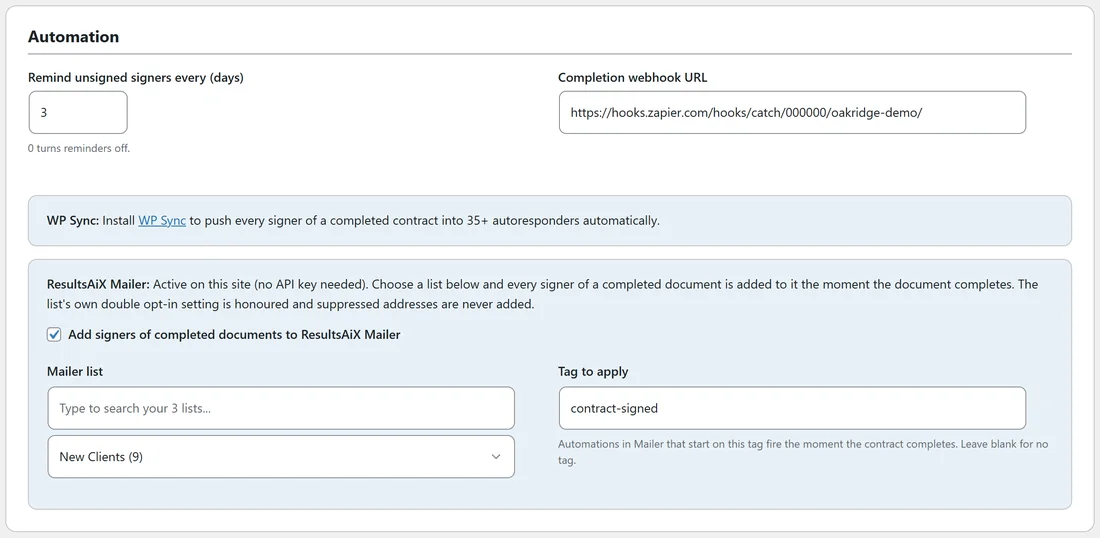
With PRO active, two fields:
- Remind unsigned signers every (days): 0 to 30, starting at 3. Zero turns reminders off. See Deadlines, Expiry And Chasing Signatures.
- Completion webhook URL: an address that receives the document details when a document completes, such as a Zapier or Make webhook.
Below them, on every licence, are the WP Sync box and the ResultsAiX Mailer box. See Connecting WP Sync And Your Autoresponder.
AI (PRO): bring your own key:
With PRO active, this section sets the AI used by AI Draft and AI Localize: Provider, API key, Model (optional), three How To Get Your Key In 60 Seconds guides, an Advanced section for a custom API address, and a Test connection button. See AI Draft And AI Localize With Your Own Key (PRO).
Saving:
Click Save Settings in the bar at the bottom. The page reloads with Settings saved.
Help & your account:
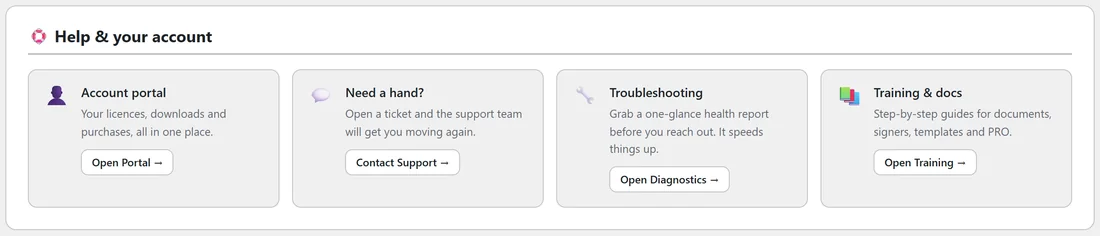
Four cards with shortcuts: Account portal (Open Portal), Need a hand? (Contact Support), Troubleshooting (Open Diagnostics) and Training & docs (Open Training).
License:
The licence panel shows your key, status, licensed email, renewal date and activated sites, with Refresh License Info, Deactivate This Site and a box to change the key. See Installing The Plugin And Activating Your License.
Danger Zone:
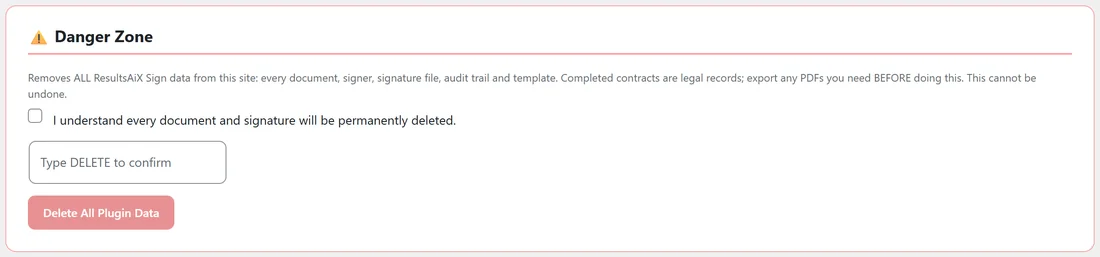
The Danger Zone removes all ResultsAiX Sign data from this site: every document, signer, signature file, audit trail and saved template, plus the plugin's settings. Your licence stays.
- Download any PDFs you want to keep first.
- Tick I understand every document and signature will be permanently deleted.
- Type DELETE in capital letters in the box.
- Click Delete All Plugin Data and confirm the final message.
The page reloads with All plugin data removed. Fresh start. If the word is not typed exactly, nothing is removed.
A real example:
Sam set the Sender name to Oakridge Web Studio, the Sender / reply-to email to hello@yoursite.com, the date format to the written out style, and left the default expiry at 30 days. With PRO, Sam added the logo, a teal accent colour and the company name, set reminders to every 3 days, and turned on the Mailer hand-off to the New Clients list.
Tips:
- Set the Sending section first. It appears in every email.
- The Danger Zone is for a full reset, such as clearing a test site. On a live site, delete single documents from the Documents tab instead.
- After changing settings, send a test document to yourself to see the result.