WP Sync installs like any other WordPress plugin. This article takes you from the downloaded file to a working plugin, then through the two optional packs.
Requirements:
- WordPress 5.0 or newer.
- PHP 7.4 or newer.
- Standard shared hosting is fine. There is no special server software to install.
- WordPress cron should run on your site, which it does by default. The five minute poll for polled sources rides on it.
Install the core plugin:
- Download the WP Sync plugin file from your account portal.
- In WordPress go to Plugins, then Add New Plugin, then Upload Plugin.
- Choose the file and click Install Now.
- Click Activate Plugin.
- A WP Sync item appears in the WordPress admin menu, with the update arrows icon.
Activate your licence:
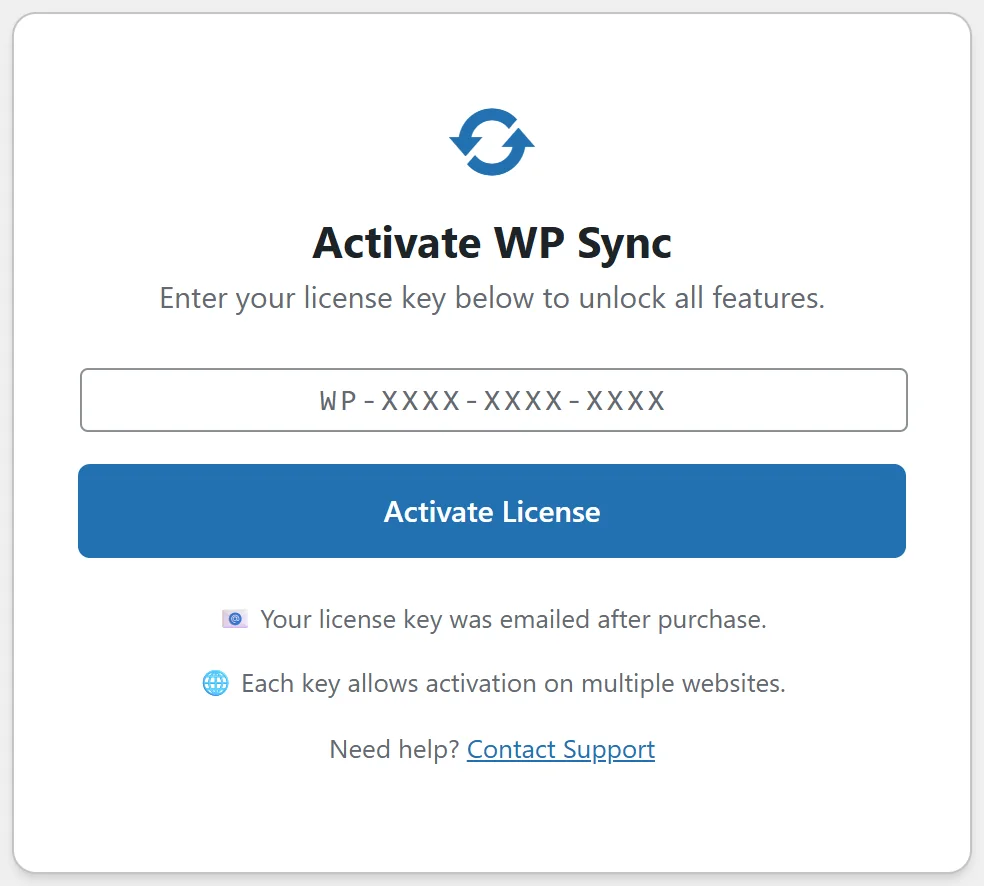
Open WP Sync. Until a key is entered, the plugin shows a single card called Activate WP Sync.
- Paste the licence key that was emailed to you after purchase into the box.
- Click Activate License.
- The page reloads and the full tab bar appears, starting on the Dashboard.
If you cannot find your key, it is listed in your account portal, and support can look it up for you. The card has a Contact Support link for exactly that.
Install the packs (optional):
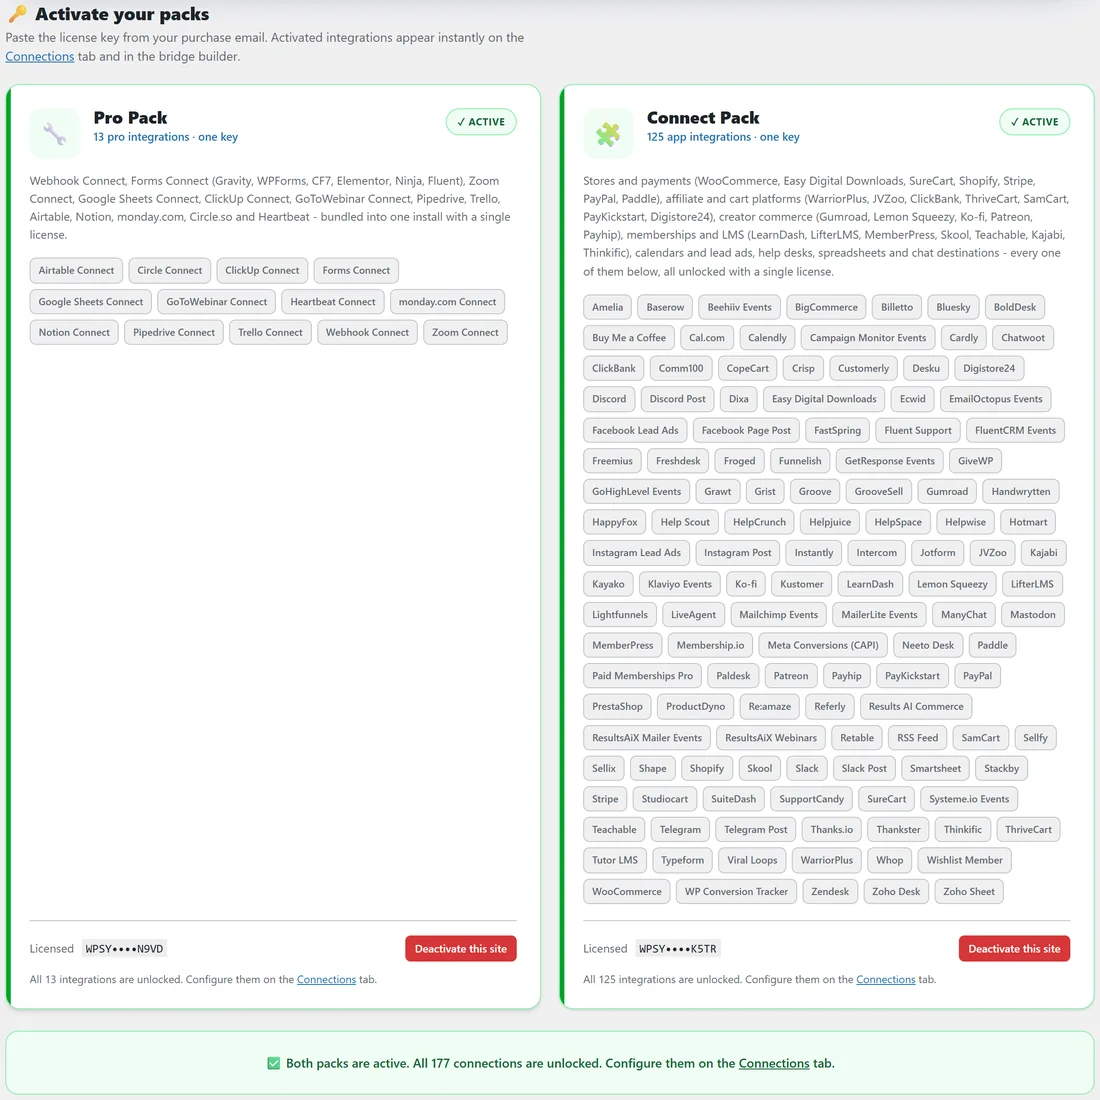
The Pro Pack and the Connect Pack are separate WordPress plugins, each with its own licence key. Install them the same way as the core plugin.
- Upload and activate the pack plugin under Plugins.
- Open WP Sync, then the Add-ons tab.
- In Activate your packs, paste the key from the pack's purchase email and click Activate.
- The card turns green with an Active pill, and its connectors appear on the Connections tab and in the bridge builder straight away.
A pack's connectors only appear when both the WP Sync core licence and that pack's own key are active.
Your first ten minutes:
- Open the Connections tab and connect one app you read from, for example Mailchimp.
- Connect one app you write to, for example ActiveCampaign.
- Go to Bridges and click Create Bridge.
- Pick the source, pick the destination, and click Create Bridge.
- Click Test on the new row to see a no-write preview.
Updates:
Core and both packs have a built in updater. New versions appear on the normal WordPress Plugins screen, and you update them with one click like any other plugin.
Built to keep your site online:
WP Sync loads each connector file on its own. If a single connector file ever fails to load on your server's PHP version, that file is set aside so the rest of your site keeps running, a notice names it in the admin, and updating the plugin brings it back.
If a pack's apps do not appear:
- Check the pack plugin is active under Plugins.
- Open the Add-ons tab and check the pack card shows Active, not Needs key.
- Check the WP Sync core licence is active on Settings.
- Reload the Connections tab. The pack's cards sit in the Connector Add-ons section.
What gets stored where:
Your licence keys, app keys and bridges are stored in your own WordPress database. Deactivating a pack does not remove your bridges, and its connectors come back as soon as the pack is active again.
Tips:
- Activate the licence on the live site that will run your bridges. A staging copy can use one of your activation slots too. See License Tiers And Site Limits.
- After activation, the Settings tab shows your licence status, renewal date and the sites using your key.