Systeme.io organises contacts with tags rather than lists. When it is connected, every opt-in is created as a contact in your Systeme.io account and given the tag you pick. Your Systeme.io automation rules can then start a campaign from that tag.
Where to find it:
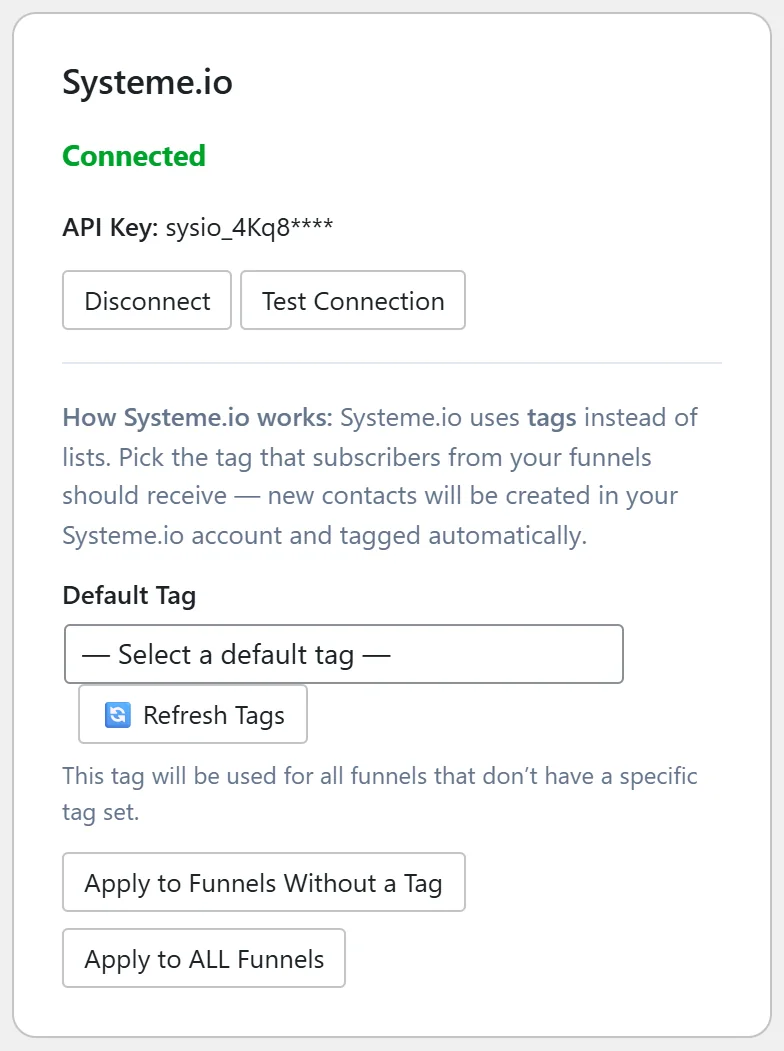
Go to Free List Building → Autoresponders and find the Systeme.io card.
Where to find your API key:
- Log in to Systeme.io.
- Open Settings → Public API keys.
- Create a new key and copy it.
Step by step:
- Paste the key into Systeme.io API Key.
- Click Connect. The card shows Connected and the first characters of the key.
- Click Test Connection.
- Under Default Tag, pick the tag new subscribers should receive. If you just created it, click Refresh Tags first.
- Use Apply to Funnels Without a Tag or Apply to ALL Funnels to set it on your funnels.
What happens on each opt-in:
- The contact is created in Systeme.io with their email and first name (when you collect names).
- If the email already exists, the existing contact is used.
- The funnel's tag is added to the contact.
Per funnel:
On a funnel's edit page choose Systeme.io in Autoresponder Provider. The field is then called Tag. Pick a tag for that funnel or leave it on the default.
A real example:
Sam Rivera creates two tags in Systeme.io, free-guide and workshop. Most funnels use free-guide. The workshop funnels use workshop, which starts a reminder campaign for the next live session.
Tips:
- Create your tags in Systeme.io before connecting, so they show in the dropdown straight away.
- Set up a Systeme.io automation rule "tag added" for each tag you use.
- If a contact is created but not tagged, check Settings → Debug Log for the reason.