The setup wizard gets a new install ready in a few minutes. It has six steps: License, Autoresponder, Affiliate Link, Install Assets, Choose Funnels and Done. Each step saves as you go, and you can change every setting again later from the tabs.
Where to find it:
On a new install the Dashboard shows a Welcome to Free List Building Website! box with a Run Setup Wizard button. Click it. The wizard hides the tab bar so you can focus on one step at a time.
Step 1, License:
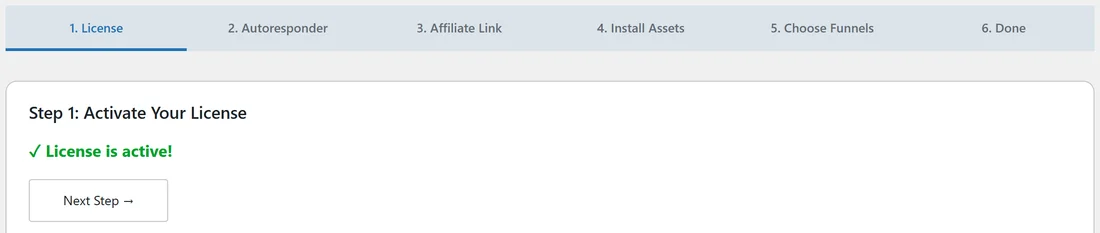
If your licence is active you see "License is active!" and a Next Step button. If not, the licence box appears here so you can activate first (see License Activation). If your permalinks are still Plain, a red box at the top asks you to fix them first, with a Go to Permalink Settings button.
Step 2, Autoresponder:
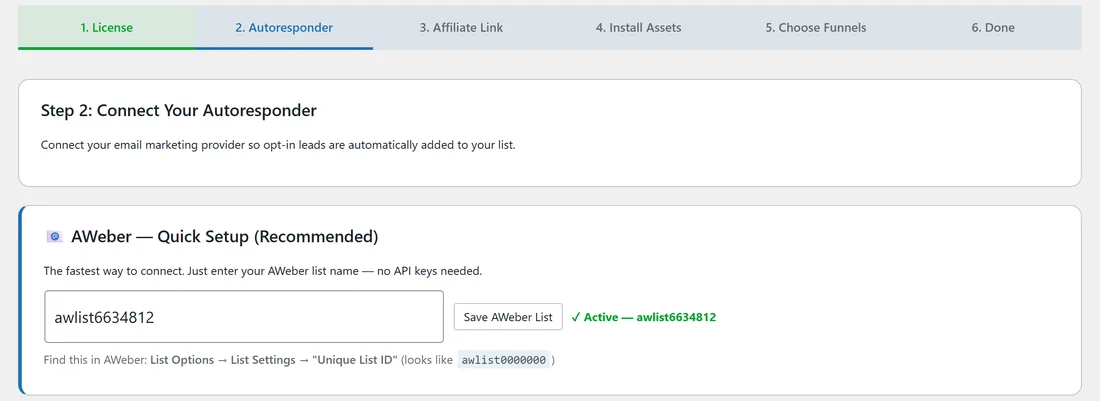
This is where your subscribers will be sent.
- If you use AWeber, type your AWeber list name (it looks like awlist0000000) in the AWeber Quick Setup (Recommended) box and click Save AWeber List. A green tick shows Active and the list name.
- If you use a different service, scroll to Or connect a different autoresponder and connect it on its card. Each card works the same as on the Autoresponders tab.
- Click Next Step, or Skip for now to do this later.
Step 3, Affiliate Link:
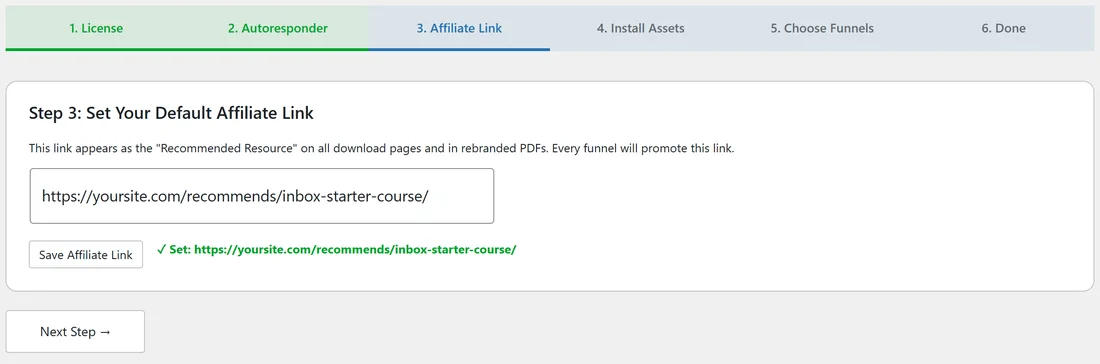
Paste the link you want every download page to recommend, then click Save Affiliate Link. It shows on all download pages as the Recommended Resource and on the call to action page of rebranded PDFs. A green tick shows the saved link. Leave it empty if you do not have one yet; you can add it later in Settings.
Step 4, Install Assets:
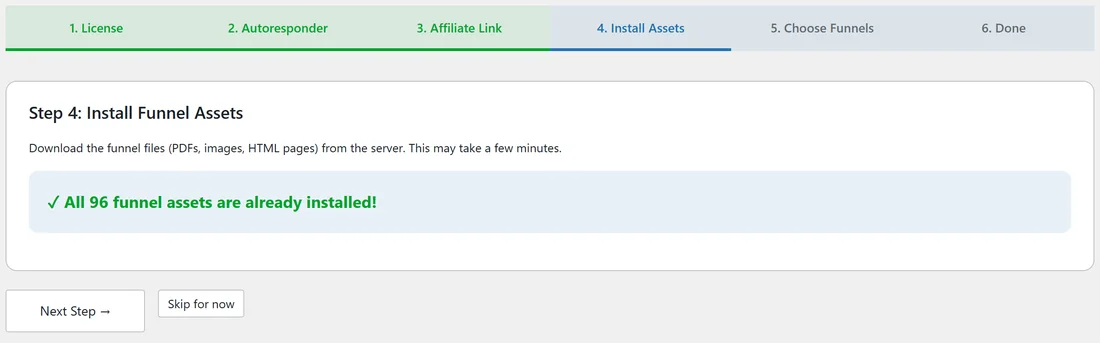
The funnel files (pages, PDFs and images) are downloaded to your site. Click Download All Assets and wait for the progress bar. When the files are already on your site you see "All 96 funnel assets are already installed!" and can move on.
Step 5, Choose Funnels:
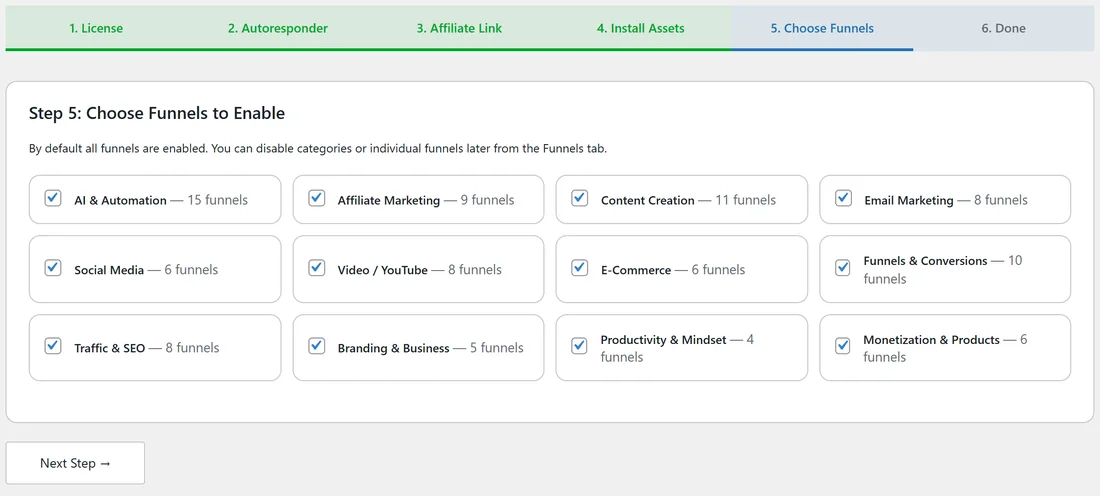
This step shows the 12 categories with how many funnels each holds. All funnels start switched on. To switch funnels or whole categories off, use the Funnels tab after the wizard (see Enabling and Disabling Funnels); the boxes on this screen are a summary and are not saved.
Step 6, Done:
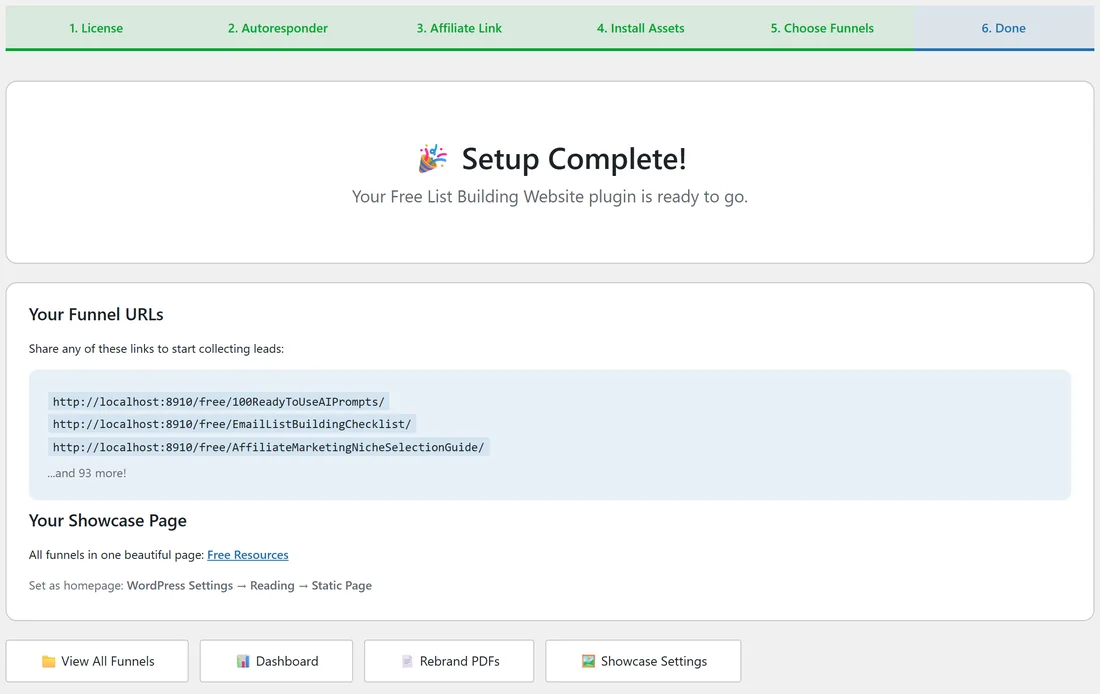
You see Setup Complete! with three of your funnel links, a link to your Showcase page and buttons for View All Funnels, Dashboard, Rebrand PDFs and Showcase Settings. The Dashboard stops showing the Welcome box from now on.
A real example:
Sam Rivera runs the wizard on yoursite.com. Sam uses AWeber, so Sam saves awlist6634812 in step 2, pastes https://yoursite.com/recommends/inbox-starter-course/ in step 3, downloads the files in step 4 and finishes on step 6 with three working funnel links to test.
Tips:
- Open one of the funnel links from step 6 in a private browser window and opt in with your own email to see the whole journey.
- You can open the wizard again any time from the address admin.php?page=listbuilderpro-dashboard&tab=setup-wizard.
- Next, see Understanding the Dashboard and The Funnels Tab.